
I recently checked another item off my 25 Things List, which was a very relaxing project for me: handbinding a copy of The Great Gatsby, my favorite book. Binding books is a very time-consuming process that takes a lot of thought and planning, but seeing your finished product is extremely satisfying and rewarding. The final copy is also just so much more personal, because you made it from your own hands.
If you’re interested in learning more about how I made my book, and how you could bind your own book, read below!
1. Create the design of your book, and have it printed.
I wanted to create each part of the book myself, even down to the copy. So during my various adventures since I started my 25 Things List, I’ve been doing a lot of typing. From airplanes to AirBNBs, I spent a lot of hours typing up the text from my marked-up, worn-down copy of The Great Gatsby. Then I put it all in an InDesign document and designed away!
I initially wanted my book to feel very 20’s and Art Deco in design. After I’d completed the book, I second-guessed myself and wondered if I should modernize it a bit more, so maybe I’ll bind another copy in the future that has a more modern feel! But for this project, I stuck with the Jazz Age.
I asked my local newspaper if they would print the final version of the book for me, so I could sew it together into signatures myself, and Jami, who runs the print shop, was super helpful and awesome – check Greater MN Communications out if you need anything printed.
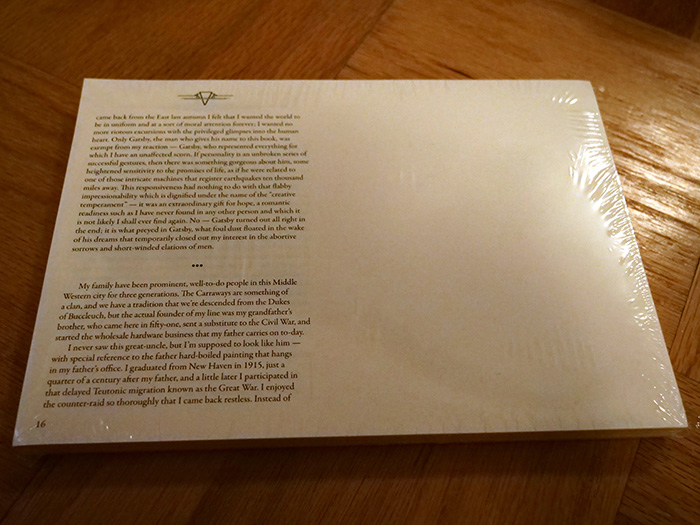
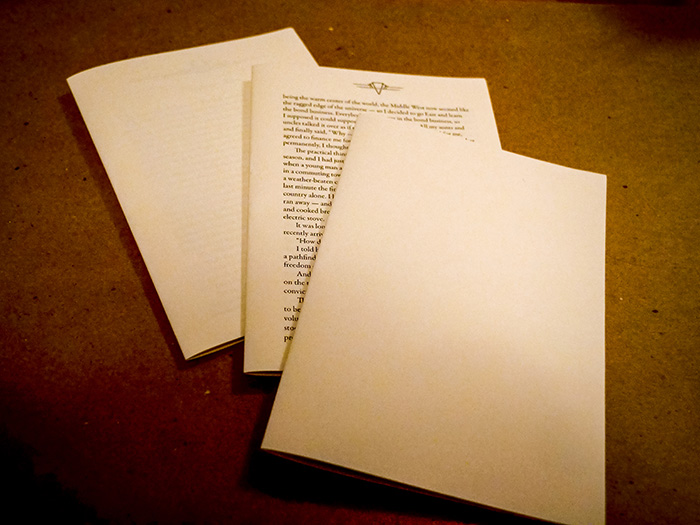
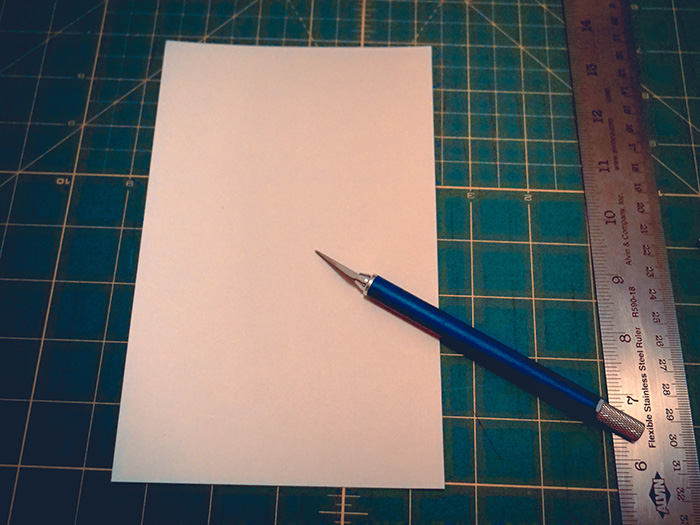
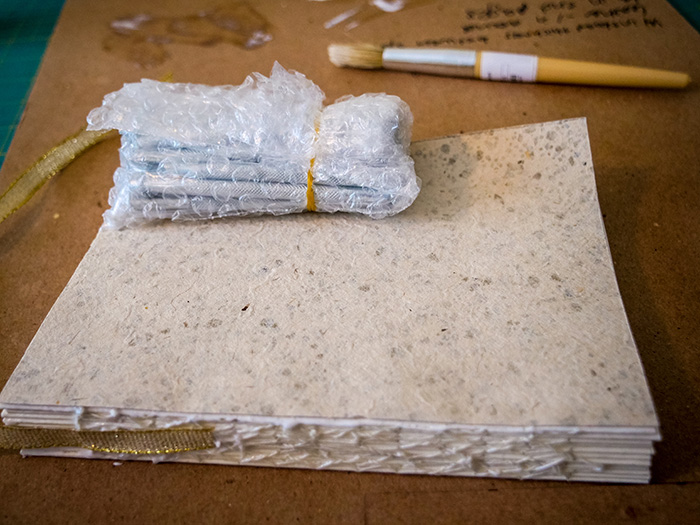
Here’s my printed book, ready to be bound. As a note, you’ll be folding the pages together into what’s called a signature, and you’ll be sewing the signatures together to create what’s called the book block. As such, you can’t print the pages in order, because when you fold them, your pages will ultimately end up out of order. You can arrange your book in the proper order in advance – however, I asked Jami if he could arrange the pages for me when he printed it, which he did. It saved a lot of time for me! I like my pages to be printed so there are only four sheets in each signature – if you try to put more pages in a signature, the ends of the pages don’t line up correctly, and you end up with a jagged look along the pages when everything’s all said in done.
We’ll get more in-depth in the process later, but just something to keep in mind as you design and print your book!
Before I get to the next step, I just want to show one of my favorite parts of the book.
In The Great Gatsby, one of the biggest symbols in the book are the eyes of Dr. T.J. Eckleburg, which are compared to the eyes of God watching over the characters. The eyes themselves are in a pair of glasses depicted on a billboard advertising for an oculist. So, I wanted to re-create the eyes of Dr. T.J. Eckleburg in a fun way.
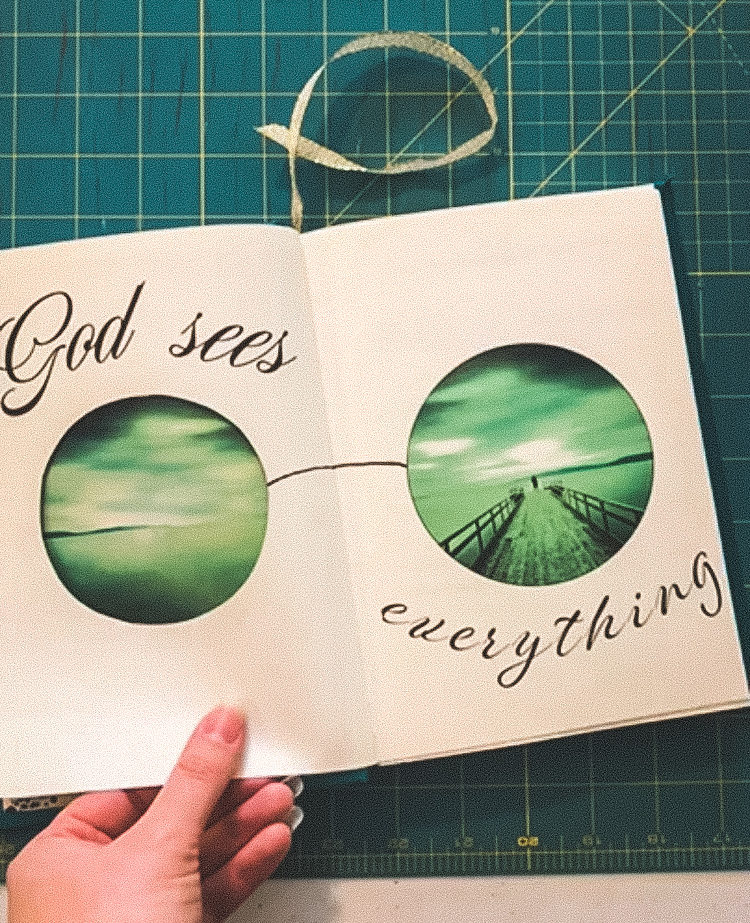
The glasses appear across two pages, and have Gatsby at the end of his dock, with the green sky symbolizing the green light at the end of Daisy’s dock. “God sees everything,” is a quote spoken by one of the characters near the end of the book, as he stares at T.J. Eckleburg’s glasses on the billboard.
One of the sides of the glasses is actually a cutout, so while the glasses appear when both pages are open, the page prior has a little sneak peak to Gatsby standing on his dock.
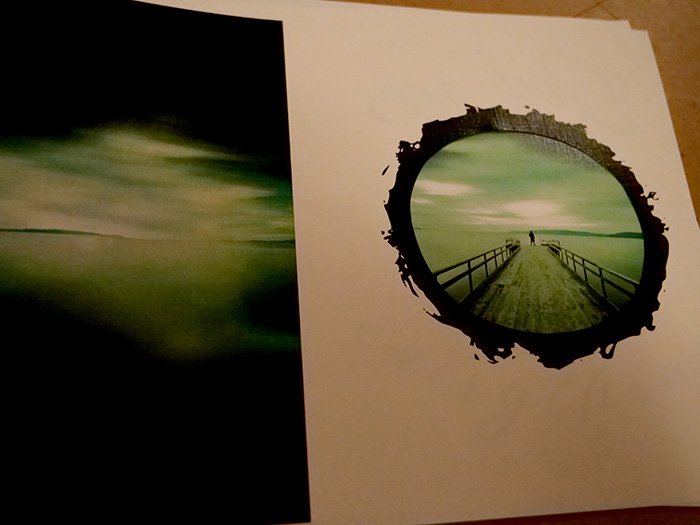
The first thing I had to do when I got the pages was cutout the little circle on the page prior, so you could see Gatsby through it, and so you could see the green light on the lake through the other side of the glasses once you flipped the page.
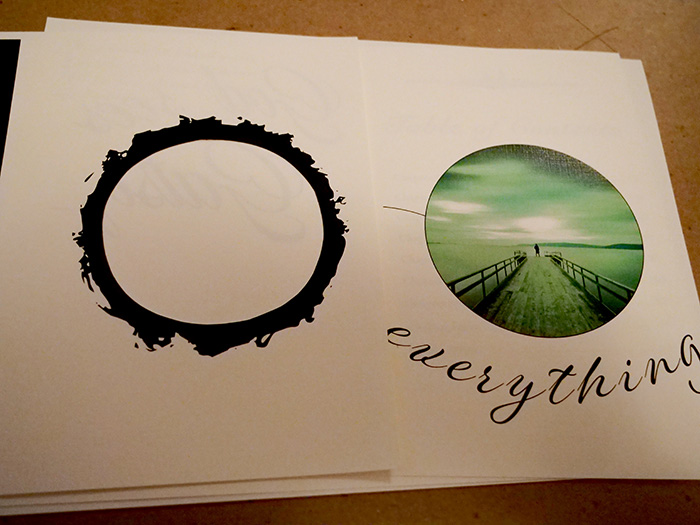
It was a little nerve-wracking cutting it out, because not only did I want it to be perfectly circular, I wanted to make sure I didn’t rip the paper in the process.
2. Separate the pages into signatures, and fold them.
As I mentioned earlier, I prefer to separate my pages into stacks of four, to avoid jagged edges. If you try to fold too many pages at once, the interior pages will stick out just a bit more than the others, creating a more textured look at the edge of the book, which some do on purpose as a style choice. For this project, however, I wanted nice, clean lines. Each folded grouping of pages is called a signature.
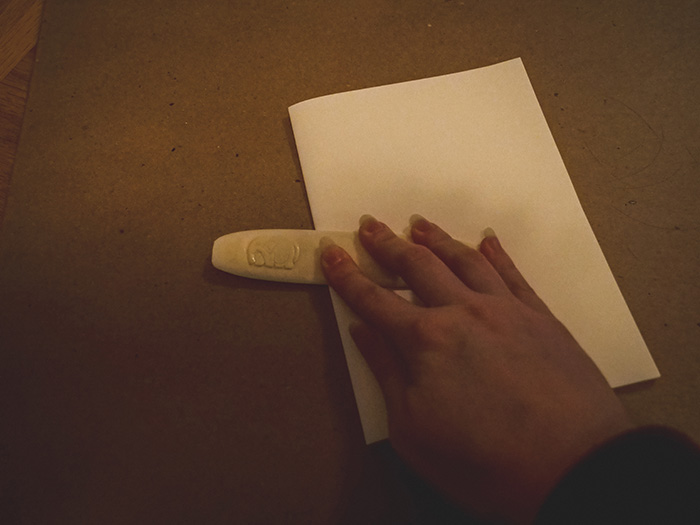
To fold the book, I hold the edges of the paper together, and use a bone folder to make sure I have a nice crisp fold. I got this (and many of my other supplies) from Open Book, which has a little store with bookbinding supplies in it. It’s allover a writer’s haven, so I’d definitely suggest checking it out sometime if you enjoy writing or reading. It has a little coffee shop that I love to write at, and is actually where I sit as of writing this.
Do this for each of your signatures, until you’ve gone through the whole book.
3. Create holes in the signatures.
Next, you’ll want to poke small holes along the interior part of the fold you’ve just made in each of these signatures. This will make it easier to sew later, and you’ll also know that everything lines up.
They sell equipment that you can set the signature in to make sure each hole is perfectly spaced, but I just used a ruler as I went along, and that worked just fine.
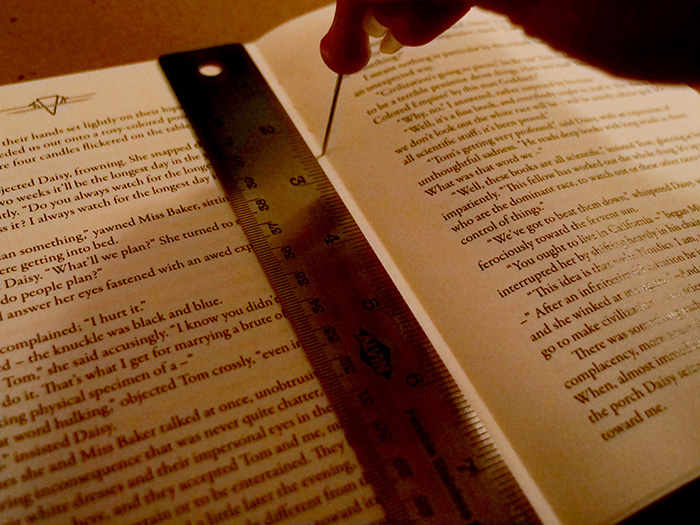
I did my holes every half inch, so the book would be really solid once it was sewn.
4. Sew the signatures together
Next is one of the more time consuming parts of binding a book, but the most satisfying part when you’re done, because it’s all uphill from there once you’ve completed your book block, which is a term for the final, sewed-up collection of signatures.
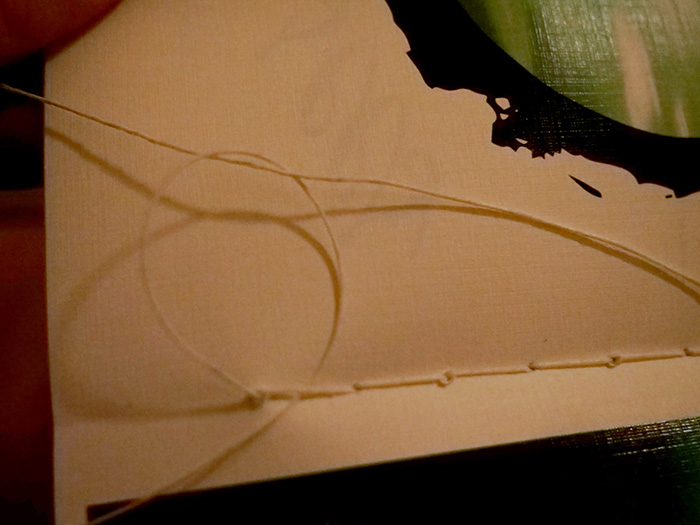
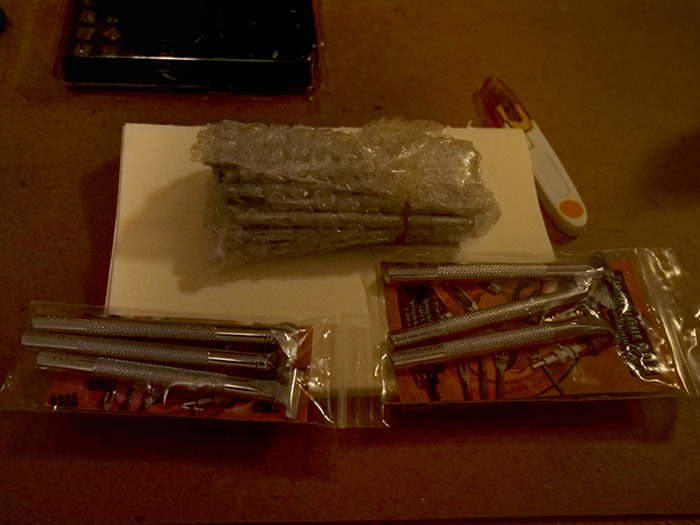
First, you’ll want to get really nice thread. I used a thread intended for book-binding, as it’s very strong, and waxed in advance. Using waxed thread helps prevent tangling in the thread as you sew, and a smoother all-around binding process. If you’re thinking of skimping on the thread and just using plain thread, don’t. It’s a game-changer. I also purchased a small bar of wax, so when the ends of my thread got a little frayed, I could wax them back in place.
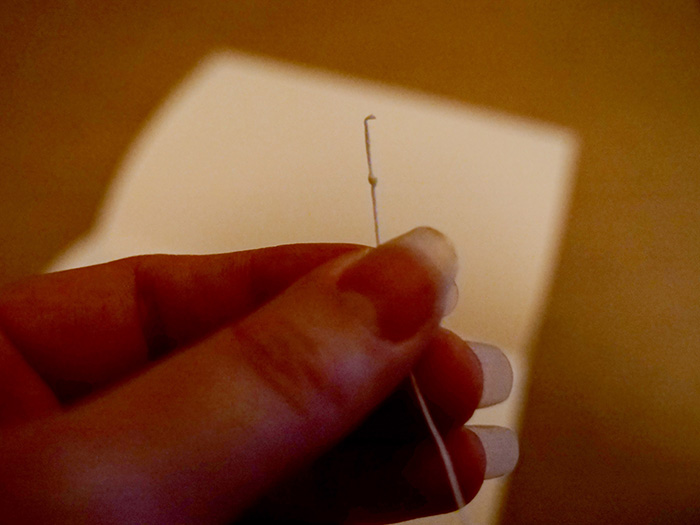
You also do not want to tie a knot around the needle, just simply pull the thread through it and twist it around itself, that way you’re a little more free to move. Using waxed thread helps, because it keeps the twist stuck together as you sew.
Once you’ve looped your thread through the needle, you’ll want to cut a very generous length from the spool. If you run out of thread, you can rethread later, but it’s easier to start with a giant length of thread and not have to re-tie another piece to it later.
Next, tie a small knot at the end of the thread.
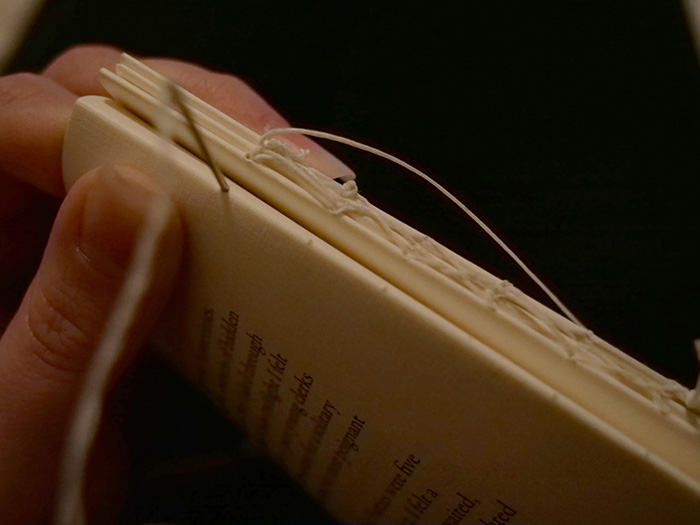
Take your first signature, and thread the needle through the first hole, so that the knot ends up on the exterior of the signature, and does not show when you hold the signature open. Thread the needle back and forth through each hole along the length of the paper, and once you reach the end of the signature, thread it back toward the top of the signature again. This makes sure there is thread along each part of the signature, and will make the book more secure when it’s done.
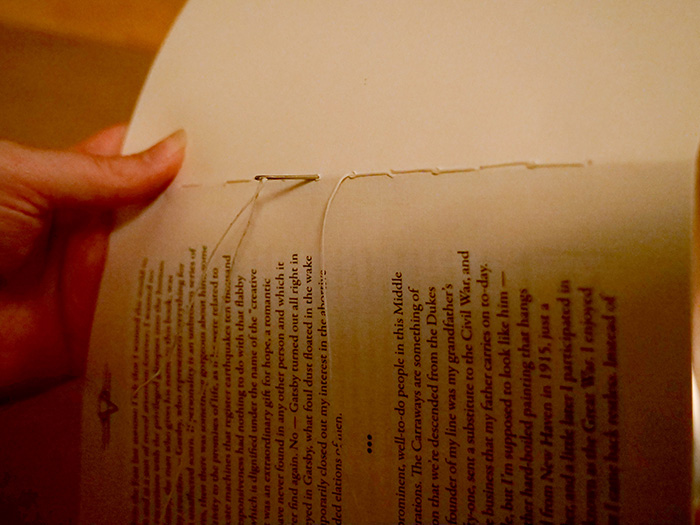
You can see here how the thread makes it’s way through each hole, creating a line of thread instead of a series of dashes of thread.
When you reach the first hole with the knot on it, thread the needle back through the hole, so the needle is on the inside of the signature, then thread it through the first loop.
Tie a knot, and pull the needle and thread through the first hole again, and pull until the knot comes through the hole to the exterior of the signature.
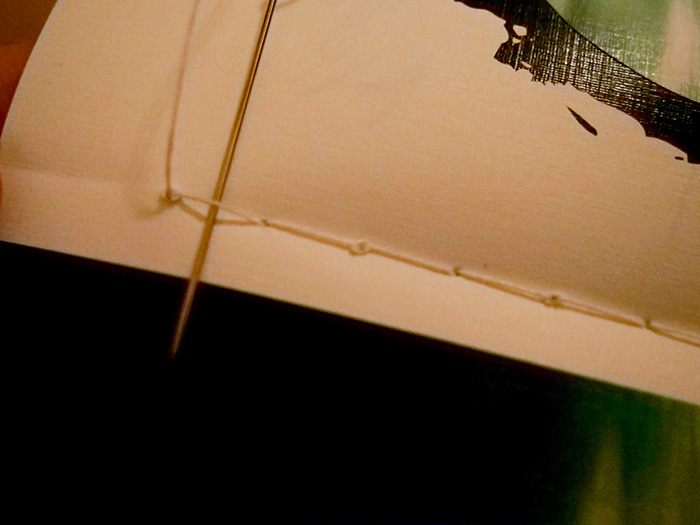
Then add the next signature, and repeat the process until all of the signatures are sewn together.
As you sew along, when you pull the needle through to the exterior of the signature, thread the needle through the loop on the previous signature before threading it through the next hole in the signature.
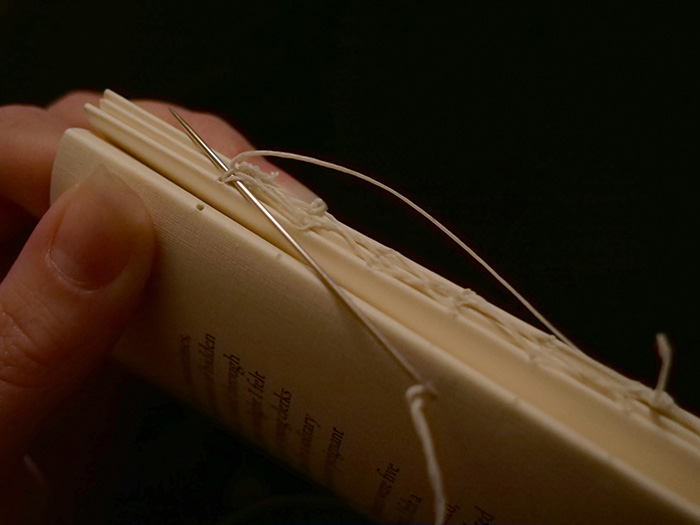
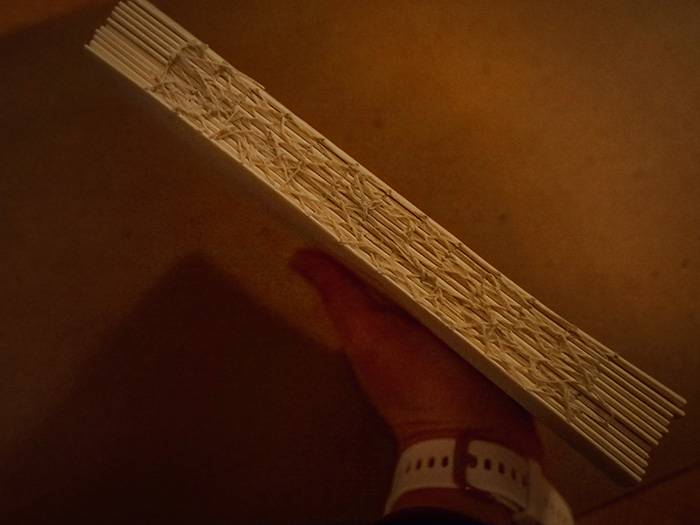
This will create a criss-crossing design on the spine of the book block as you go along, and will keep everything a little sturdier.
If you run out of thread, simply tie a knot at the exterior of the book block. Cut a new length of thread, and tie a knot at the end, and pick up where you left off, sewing until all of the signatures are connected. When you’re all done, the spine should look something like this.
It’s a lot of work to get this far, so you’ll definitely feel proud once you have your book block completed!
5. Glue the spine, and press it while you work on the cover.
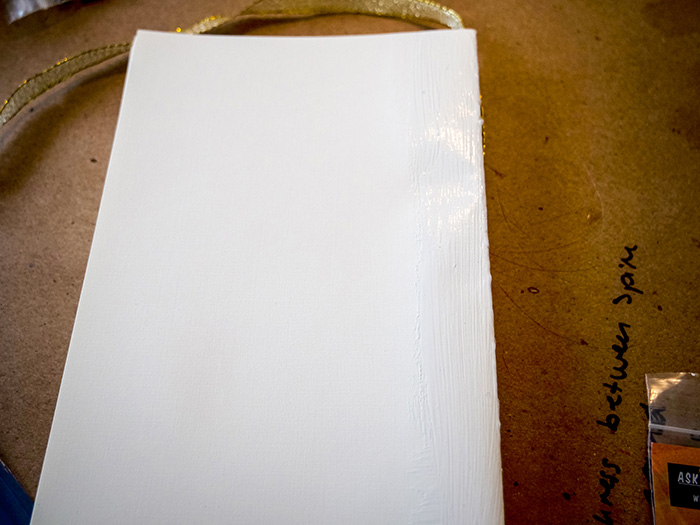
Next, I use a bookbinder’s glue (which can also be found at Open Book, or at Blick’s), to glue down the spine. This is the brand I use. It rocks. This reinforces the thread and keeps the pages where they should be. As I worked on the next few steps, I put some weighted items on the book block, to keep the pages from curling while I worked. Adding glue of any kind is going to make the paper want to curl while it’s wet, so keeping it weighted helps prevent that.
It’s not pretty, but it gets the job done.
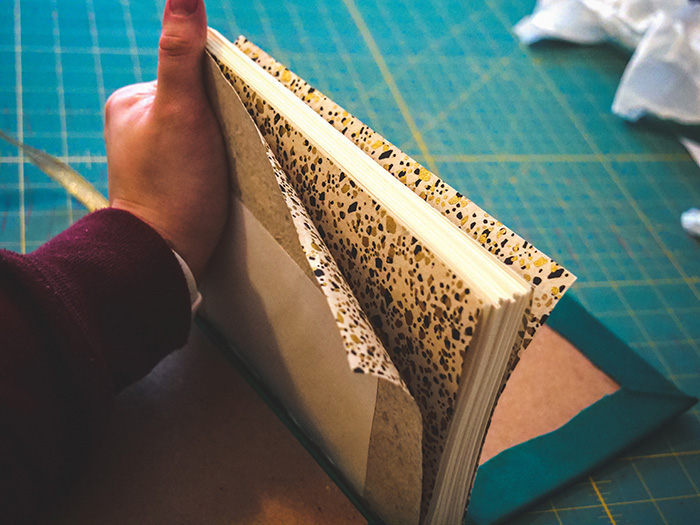
6. Cut the end papers and press them.
End papers are exactly what they sound like – they’re the decorative papers that appear at the front and end of the book. I purchased a gold and black speckled handmade paper from Open Book, which came in a large sheet, so I had to measure and cut out two sheets to fit my book.
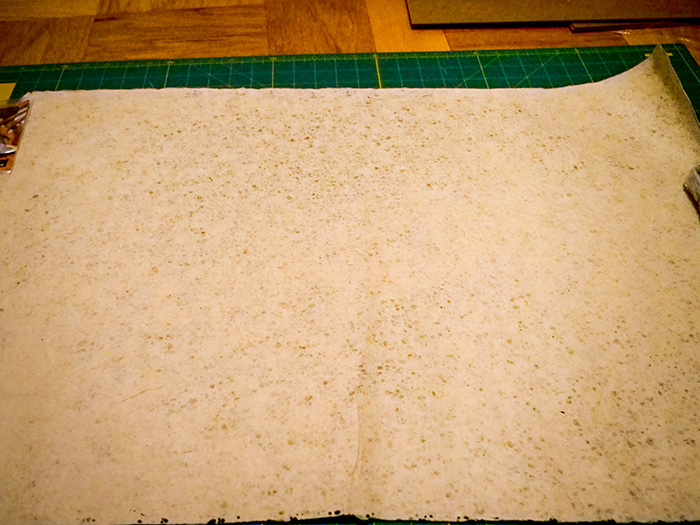
I’d stored these in a roll, so they wanted to curl. While I moved on to the next steps, I also pressed these so they’d flatten out.
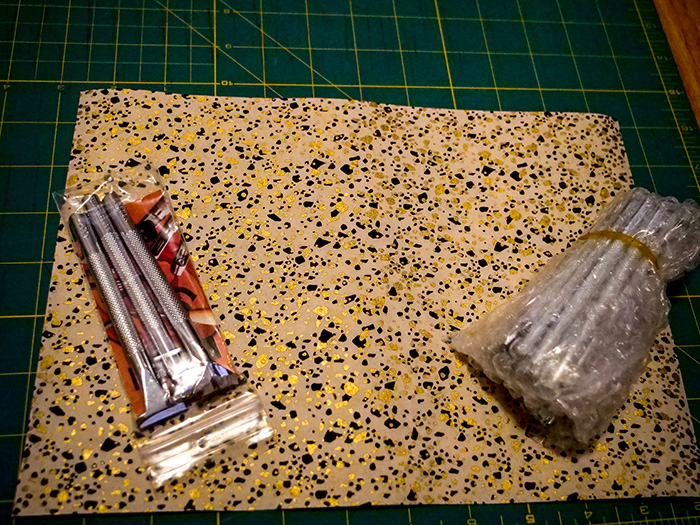
Isn’t it pretty?
At this time, I also cut a smaller piece of paper, which I would eventually glue to the spine of the book to support it.
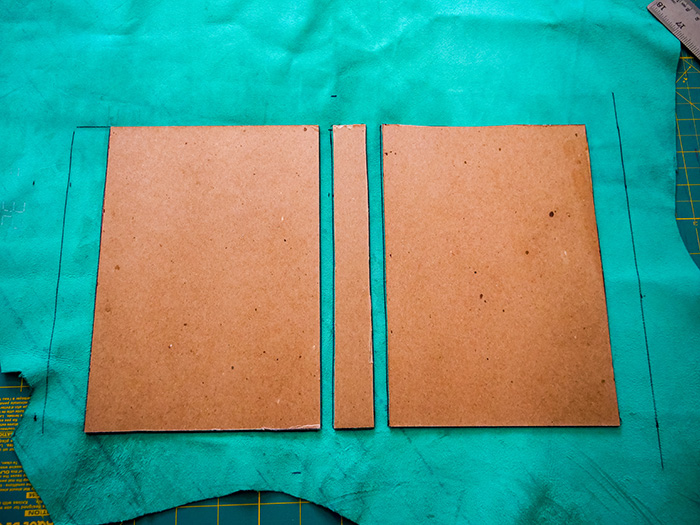
7. Cut the book board.
To create a hardcover book, you’ll need book board, which comes in large sheets. I purchased mine from Blick’s, but you can also get it from Open Book. I happened to have a stash leftover from some previous projects, so I just used that.

Book board is pretty hard to cut, and you want to be sure you’re cutting straight lines, so I clamped my book board down to a table. I used a box cutter to cut through the board, and needed to make multiple cuts to get through the board.
You’ll want to measure the size of your book block, and add 1/8 inch to the width and height, so the board will hang over the paper to protect it. I actually set the (dried) book block onto the book board to measure out the width of the spine, to make sure it’s exact.
Then you cut!
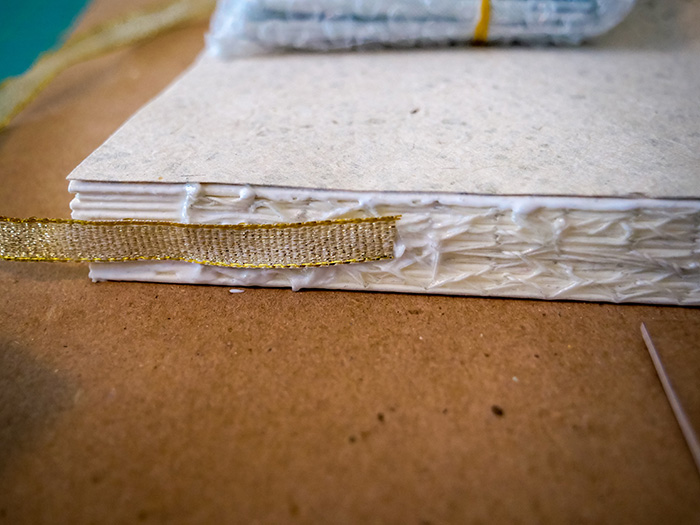
8. Glue on a ribbon (optional)
I wanted my book to have a ribbon that I could use as a bookmark, so I cut a piece of gold ribbon, used bookbinder’s glue to lock in the straight edge of the part that would hang from the bottom of the book so it wouldn’t fray, and then glued it to the spine of my book.
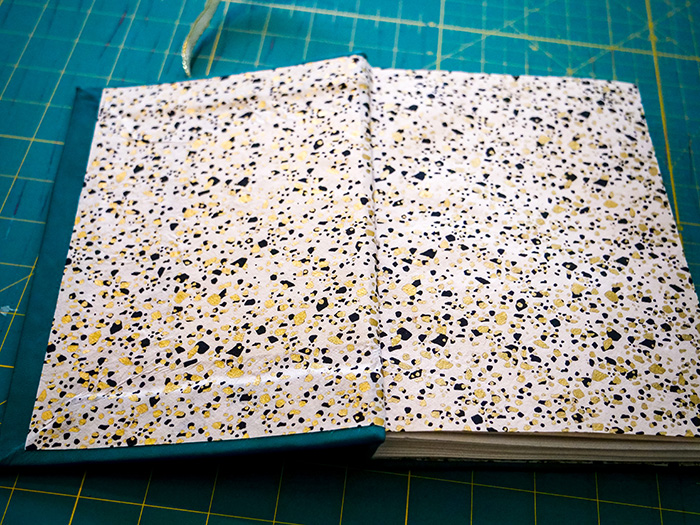
9. Glue on the end papers.
Next, I folded the end papers and glued them to each end of the book block. You only want to add glue to the first inch along the book block before you add the end papers, otherwise you won’t be able to open the pages once it’s dry.
Since they were damp with glue, I pressed them again while I continued working.
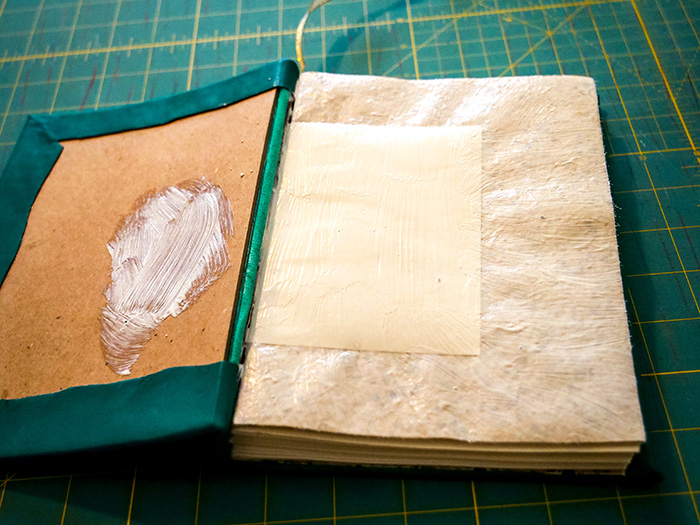
10. Glue a supportive paper around the spine of the book block.
Next I glued on that extra piece of paper I cut earlier, to provide a little extra support to the book block.
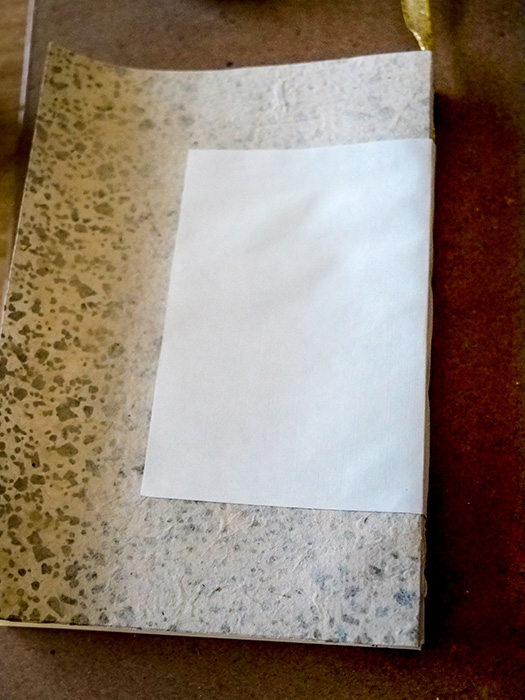
I normally don’t measure this out, I just cut a piece that is shorter on all sides than the end papers. It’s purpose is to protect the spine, so as long as it covers the spine, you’re good.
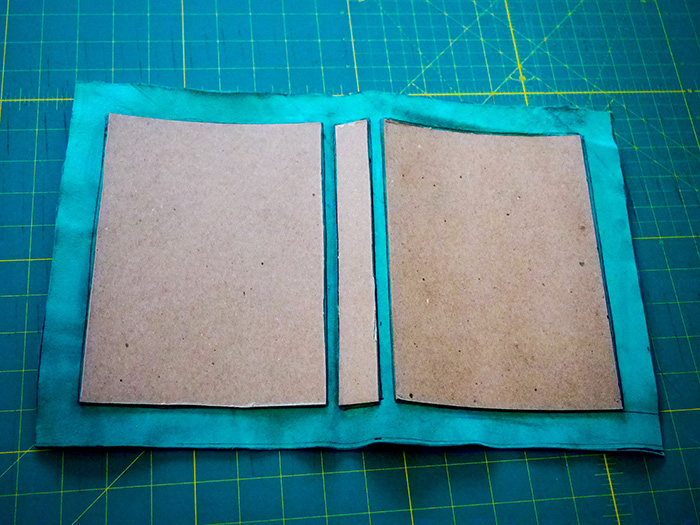
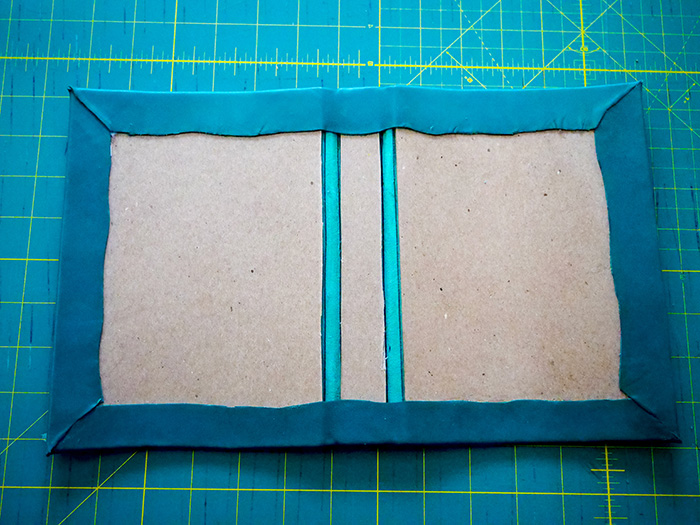
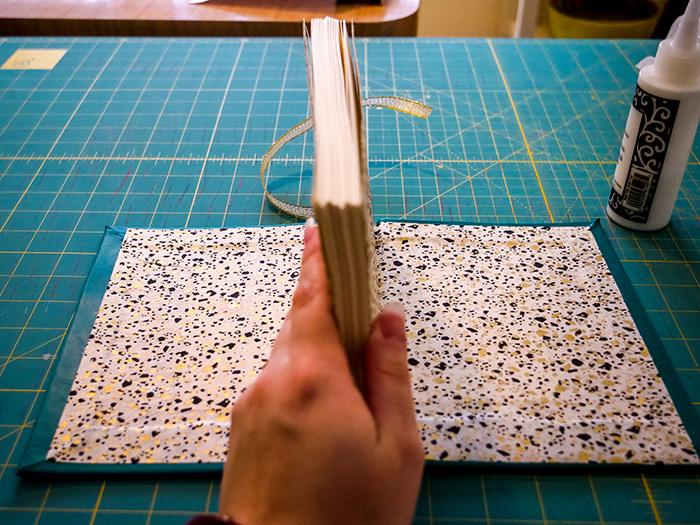
11. Measure out your book and lay it out on your cloth or leather.
I wanted to bind my book in green leather, so I laid it on my table with the finished side down, and measured out where each piece of book board should go.
I wanted an inch of leather on each side of the book, so when I folded it, there would be enough to cover the edges of the book before glueing down the end papers.
In between the cover and the spine, you’ll want 1/4 inch, plus the thickness of the book board, so my measurement ended up being 6/16 of an inch.
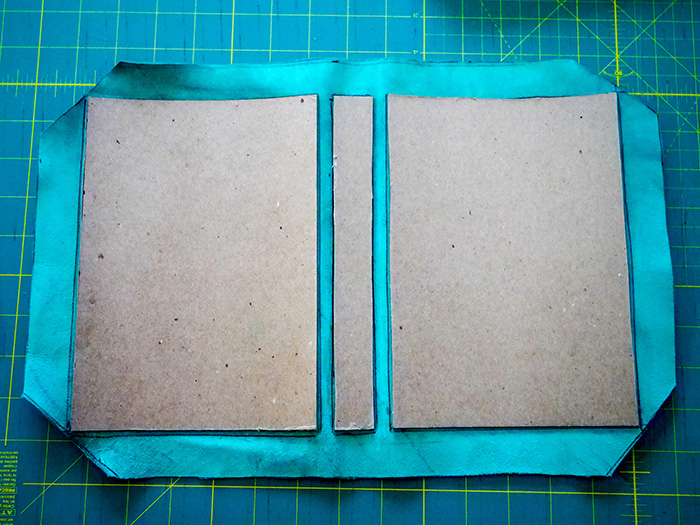
In all, this is what my book looked like laid out on the leather.
An inch around the edges of the book, and 6/16 inches in between each board.
12. Glue each piece down to the leather.
Next I mixed up some glue that I bought from Open Book that’s geared toward leather.
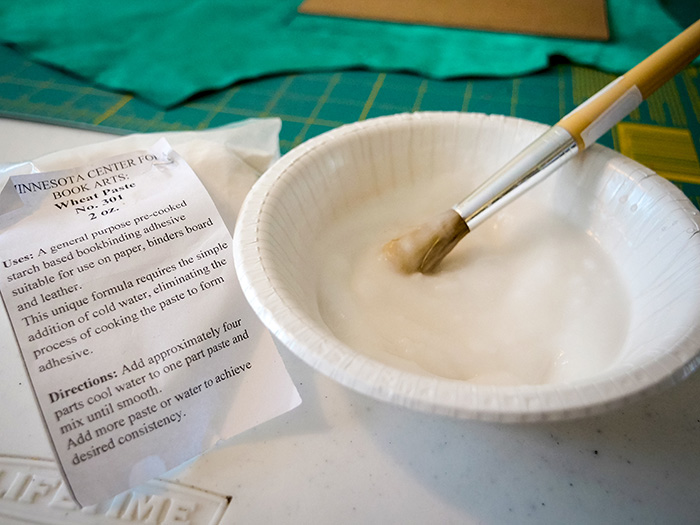
It gives you directions on how to mix the paste, but it only requires the powder mixture and water.
Then, you glue down the board onto where you’ve just outlined it.
13. Cut corners. 🙂
After the boards were glued down and had a little time to dry, I cut the excess leather off, so there was still a one inch border around it.
Next, you’ll want to cut the corners at each end of leather, so when you fold it, they meet at a perfect angle.
There’s definitely an easier way to do this, but I ended up drawing a straight line from each side of the book board, and then drawing a line through the center of each square that was formed, so I knew that I was cutting the leather at a true straight angle.
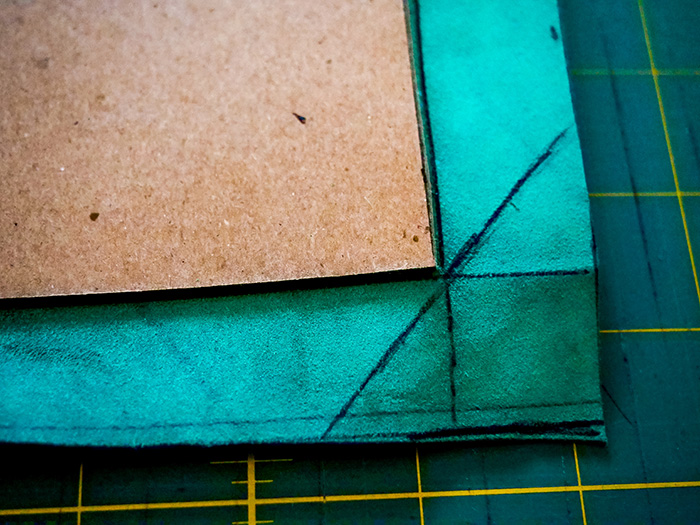
This made sure that the leather would meet perfectly when it was folded.
Repeat this step for each corner of the book.
14. Stretch the leather across the corners and interior of the book board.
Next, add glue to the leather, one side at a time, and pull it over the edge of the book board, and flatten it along the inside of the book.
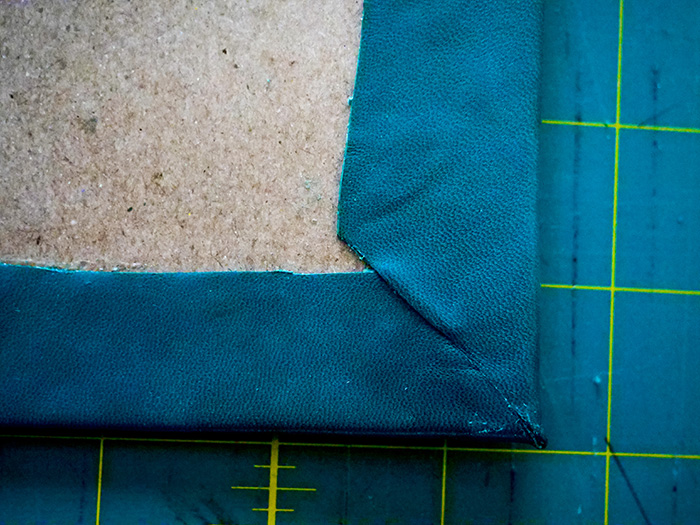
The corners should line up perfectly.
Repeat this step for each corner.
15. Glue down the spine of the book block to the spine of the book board.
Next, take your book block, and cover the spine with glue. I also covered the book board and leather with glue.
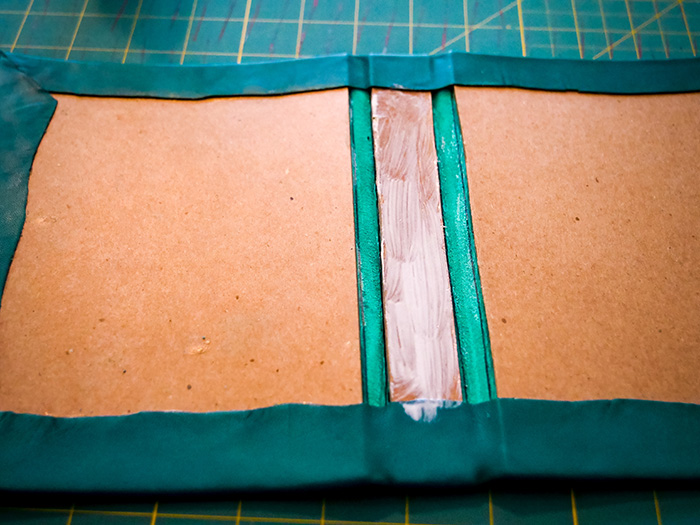
I held the book up along the spine and pressed down for awhile, to give the glue a little time to cure.
16. Glue down each side of the book board to the end papers.
Next, glue down the first page of the end papers, and press it down to the book board.
Once it’s glued down, it should look something like this.
Repeat this step for the back of the book, until both sides look like so.
Beautiful!
17. Admire the work you’ve done so far.
So fresh.
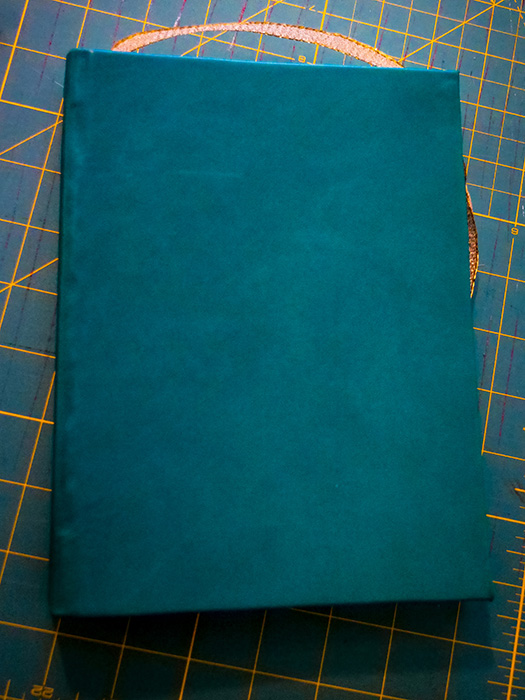
At this point, you’ve spent hours on this book, so take a moment to pat yourself on the back and admire what you’ve created so far.
18. Tackle the cover.
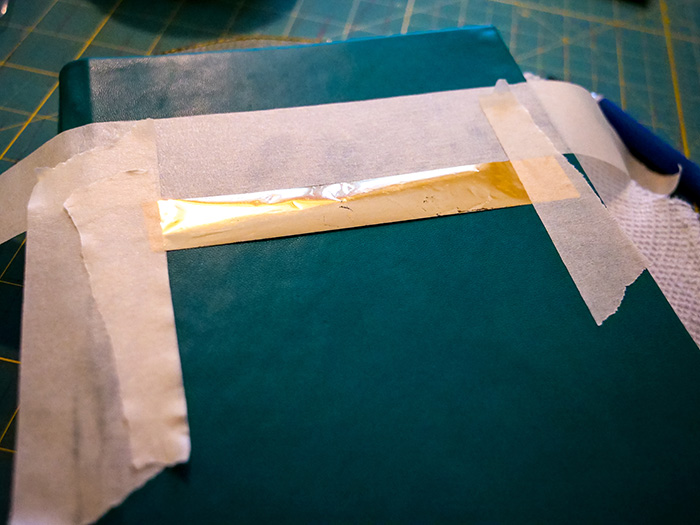
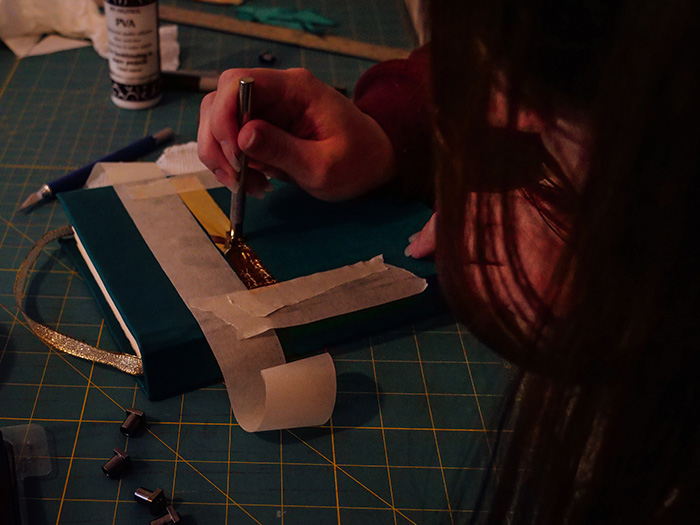
This was my first time binding a book in leather, so I wanted to keep the cover pretty simple. I’d purchased some metal stamps that I wanted to use to stamp gold into the cover. My older brother had some extra gold sheets that he’d used for a different project, which he donated to me for my project.
I started by taping down the gold in a straight line, so I could follow the lines of the tape when I stamped the title of the book, and make sure everything stayed in a straight line.
Next, I took a lighter to the stamp, heating it up for thirty seconds.
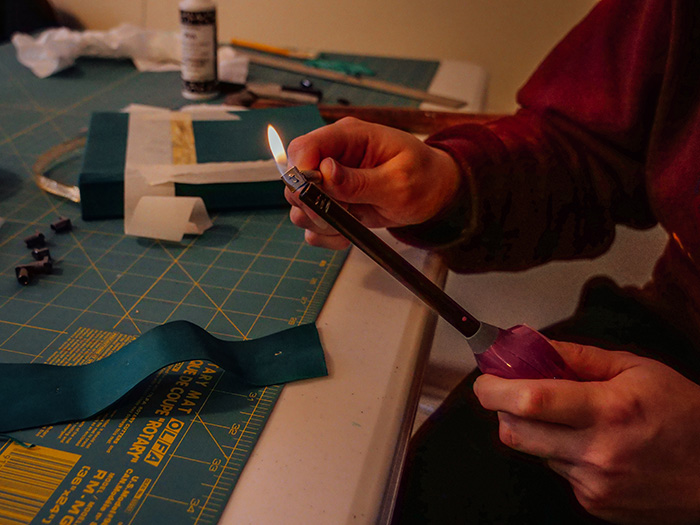
I then placed the stamp on the gold sheet, very carefully, and feeling very stressed out. At this point, the book was almost done, and I didn’t want to mess it up in the final hour.
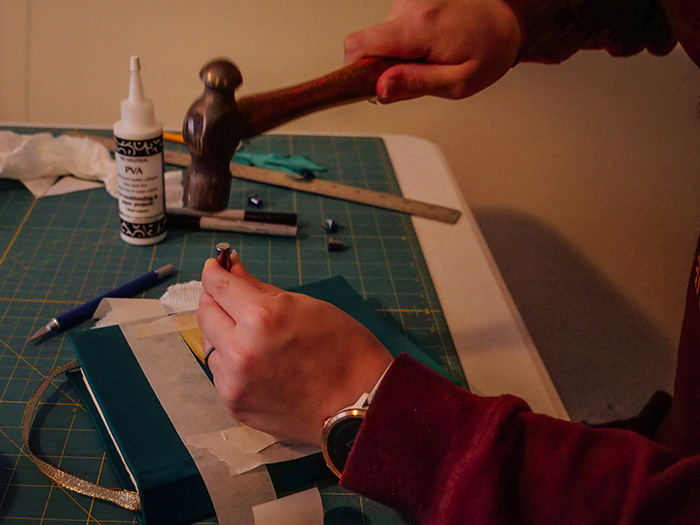
Then, as a final effort, I hammered the stamp into the book to make sure it created a proper indent.
I ran into a problem when I got to the “s” in Gatsby. The stamp set I purchased looked like it had forgotten the “s.” However, I discovered later that it actually was the “s,” it’s just super weird looking. This is the only part of the book that I’m not proud of, because I think it looks really out of place.
Here’s what the gold looked like when I was finished stamping it.
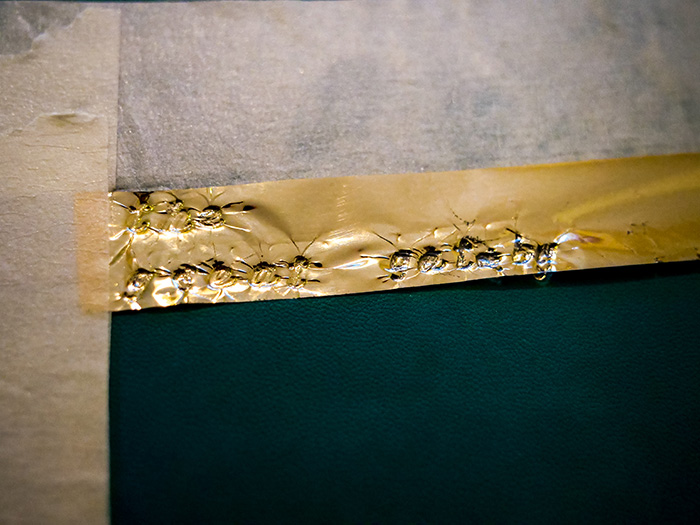
Aaaaand here’s what the gold looked like when it was all said and done.
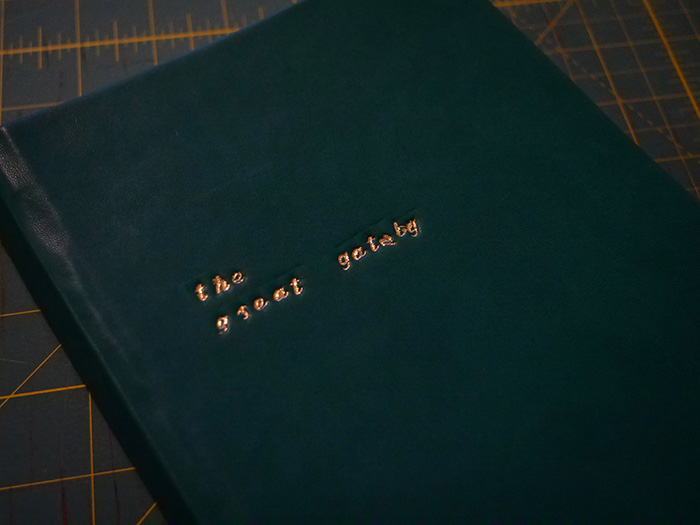
The “s” just looks like it’s backwards. I don’t understand why they made it that way! But it was all I had, so I went with it.
19. Press the book.
I didn’t take any photos of this, but I followed this up by pressing the book with weights for several days. I gave it a little time for the glue to dry, but then weighted it down for a week to make sure the pages and cover didn’t bow with the moisture of the glue.
10. Be proud.
Your final step is to be proud of the book and write a whole blogpost about it, because it took hours to make and you love it!

I made that with my own two hands!
Bookbinding is such a time consuming process, but each time it gets easier, and each time it is just as rewarding as the first. There’s something to be said about creating something with your own hands.
If you made it this far, thanks for following along! I’m itching for my next bookbinding project, and would love to hear or see if you create your own book!
Happy creating!
Adventure with me:


Awesome post, thanks for sharing!