Today, we’re visiting the Statue of Liberty!

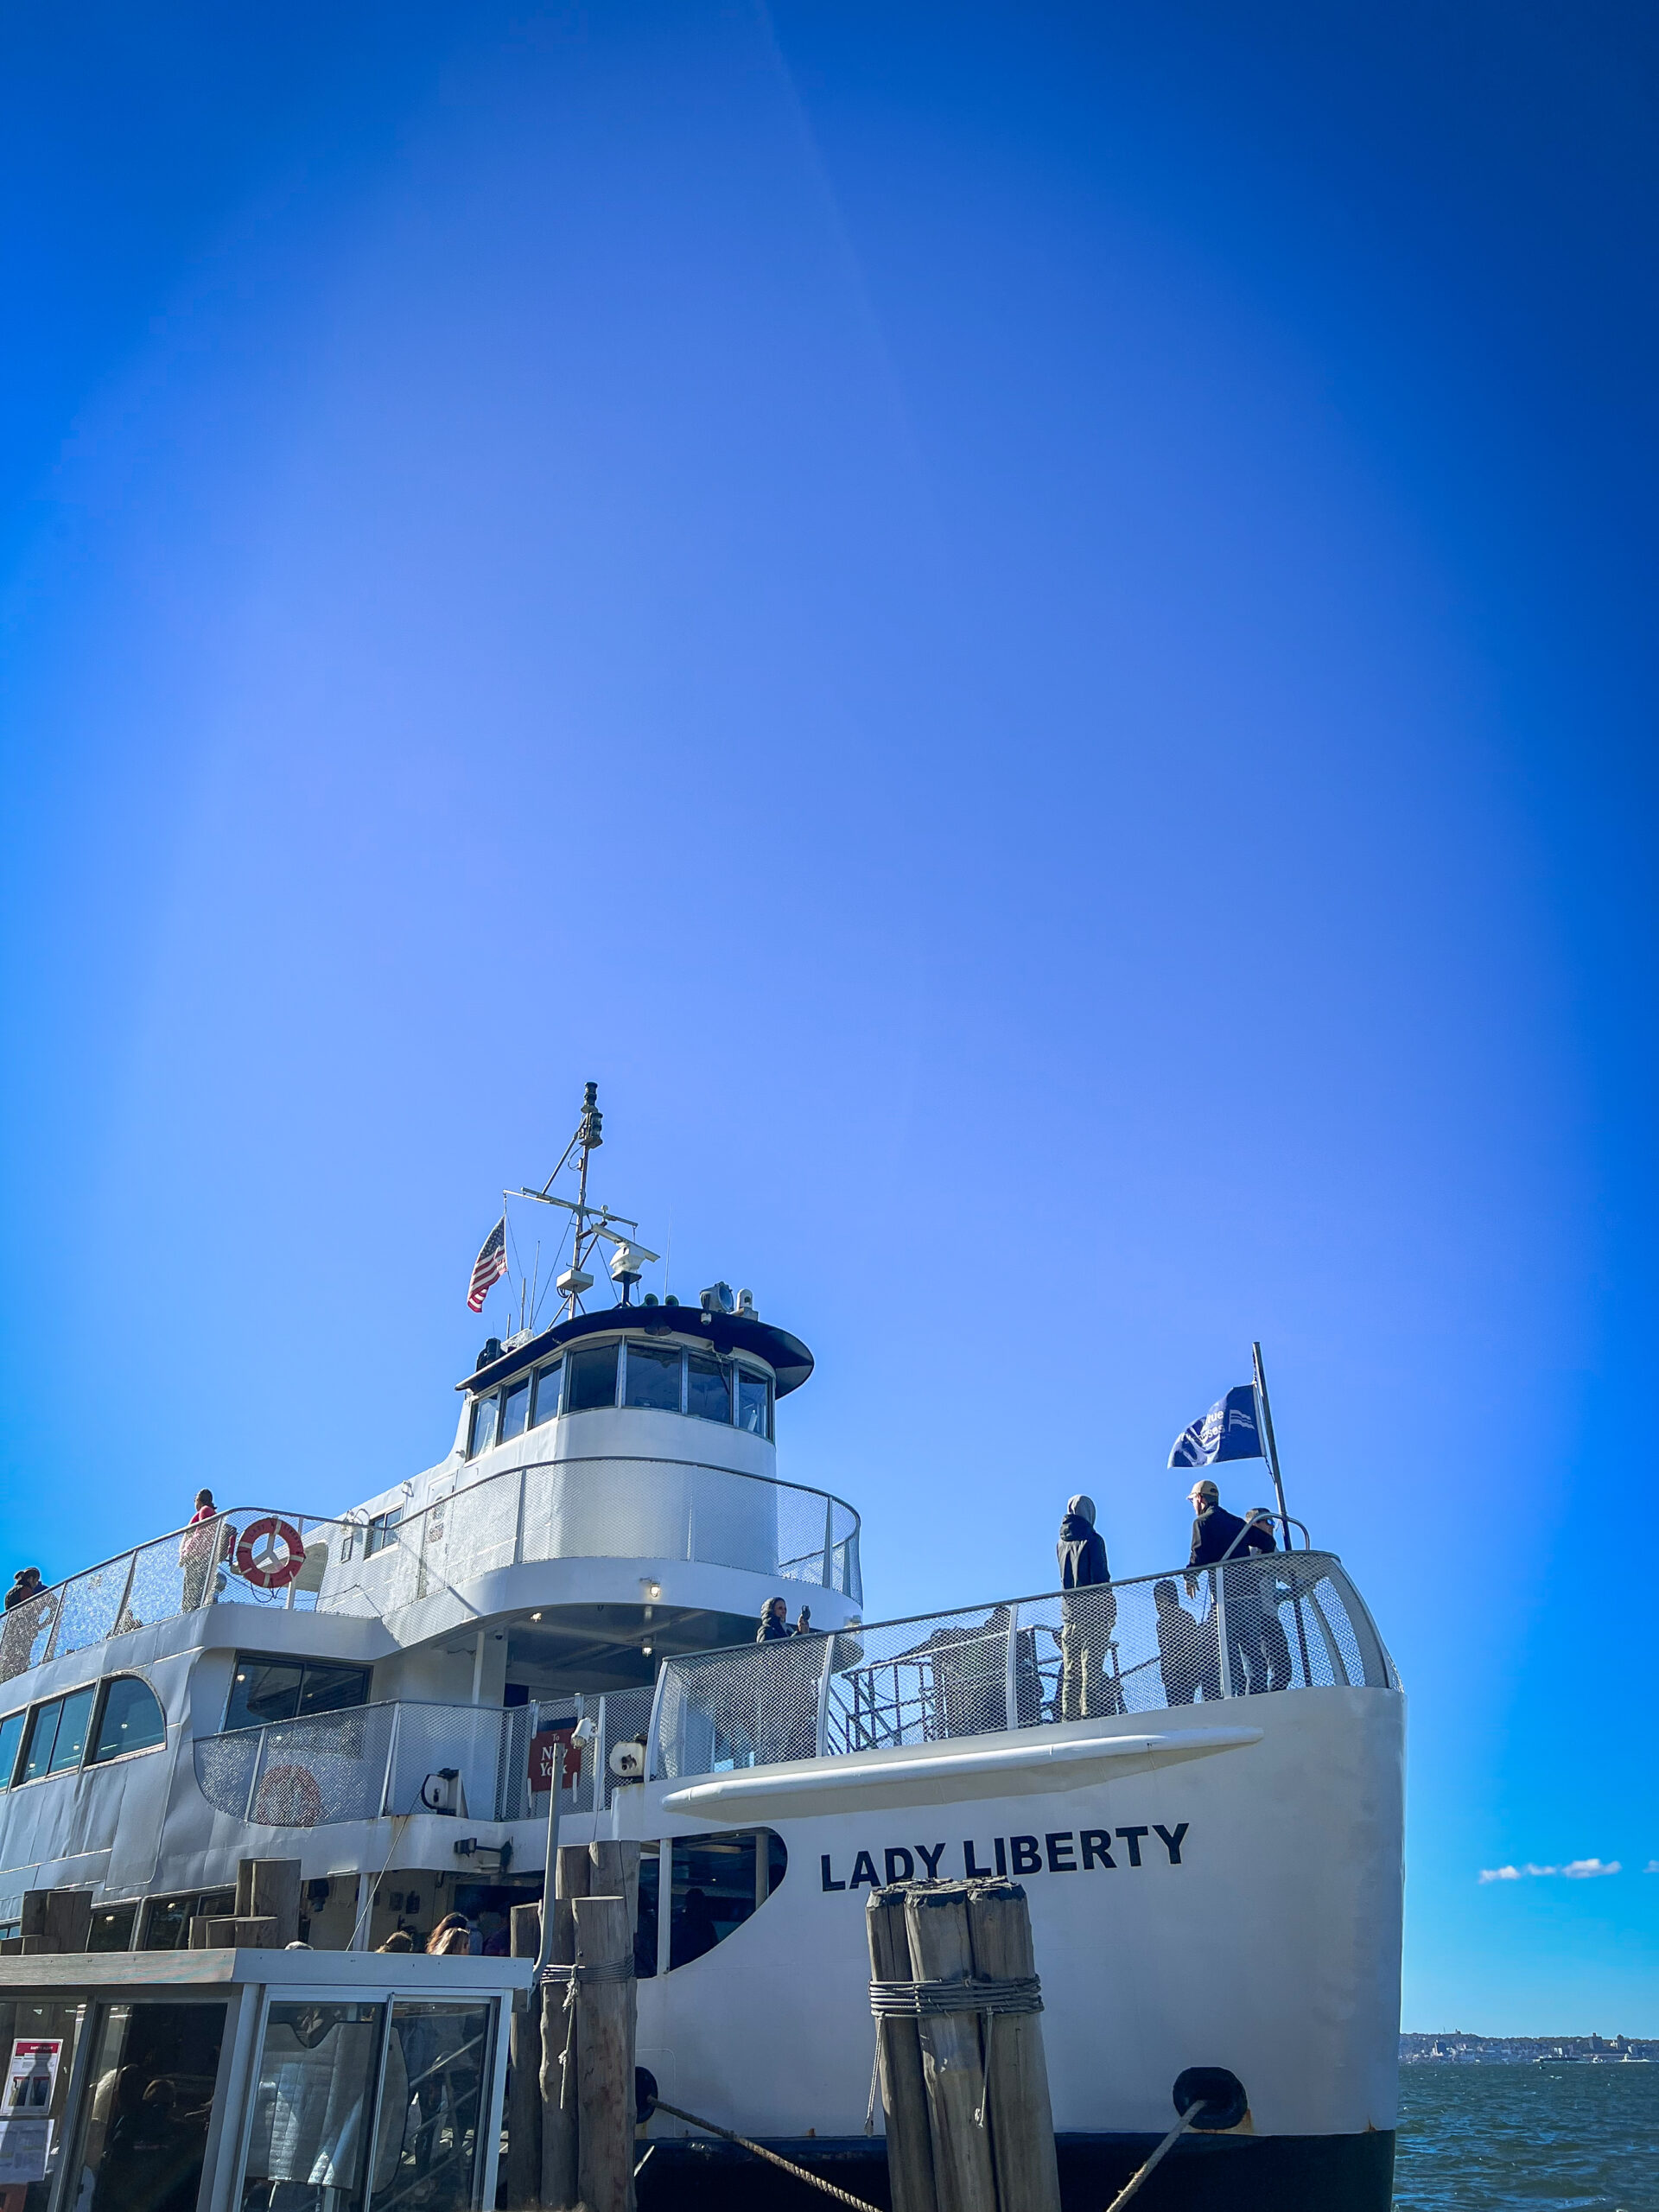
To book a tour of the Statue of Liberty, you have to book your ticket through Statue City Cruises – they’re the only authorized ferry to go to Liberty and Ellis Islands, and they depart from both New York and New Jersey.
I would definitely recommend booking your ticket as far out in advance as possible if you hope to go to the top of the statue. Tickets sell out quickly, so you’ll want to make sure you get your ticket in time.
If you’re looking for general admission, it’ll be a bit easier to snag a ticket, but to climb to the crown or to the pedestal, you’ll need tickets in advance. I booked my tickets a few weeks ahead of my trip, and I was only able to get a ticket to go to the top of the pedestal, which was still a great experience.
The tour begins at Castle Clinton in Battery Park in New York – and there is quite the line. I made reservations for 10 a.m. and the line was quite lengthy.
If you want to depart exactly on time, you’ll want to arrive early. I arrived at 9:40 a.m., a whole 20 minutes before my timeslot, and I didn’t get through security until 10:20 a.m., and didn’t get to the boat until 10:35 a.m.
I didn’t mind the wait, but if you’re hoping to schedule more than one activity while you visit, you’ll want to make sure you save enough time.
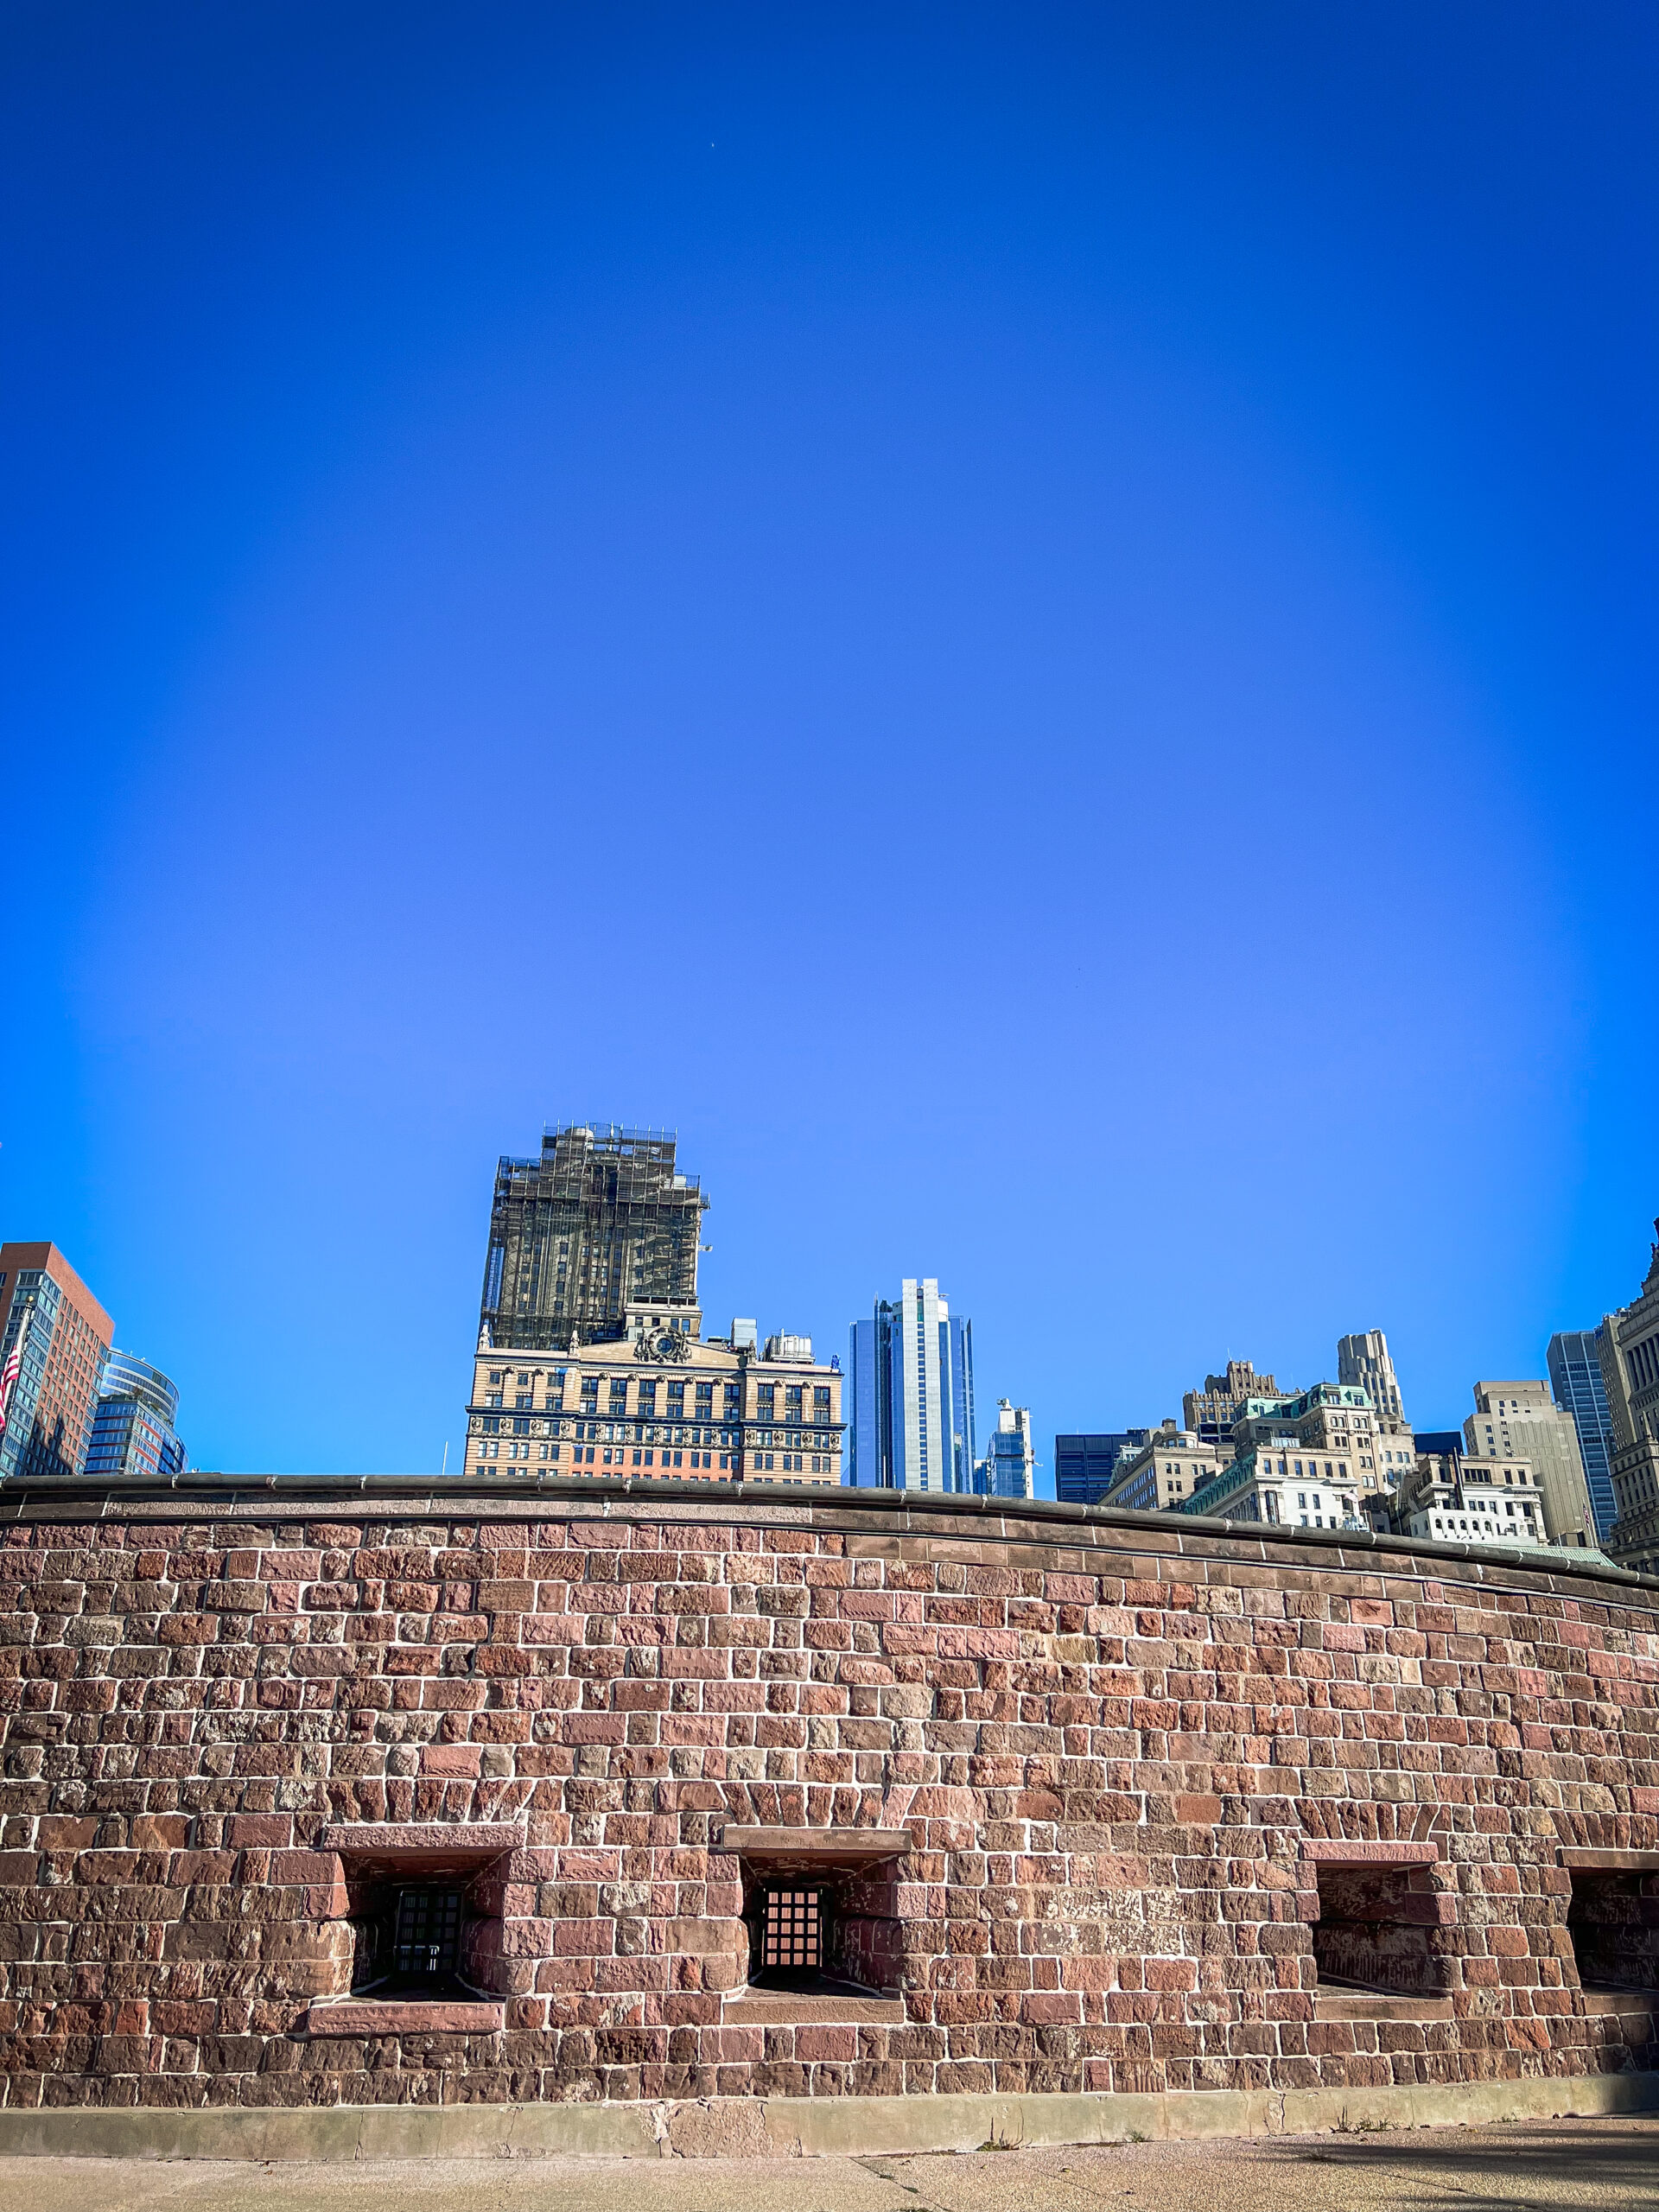
After almost a full hour of waiting in lines, we finally took off! The New York skyline was pretty cool behind us.

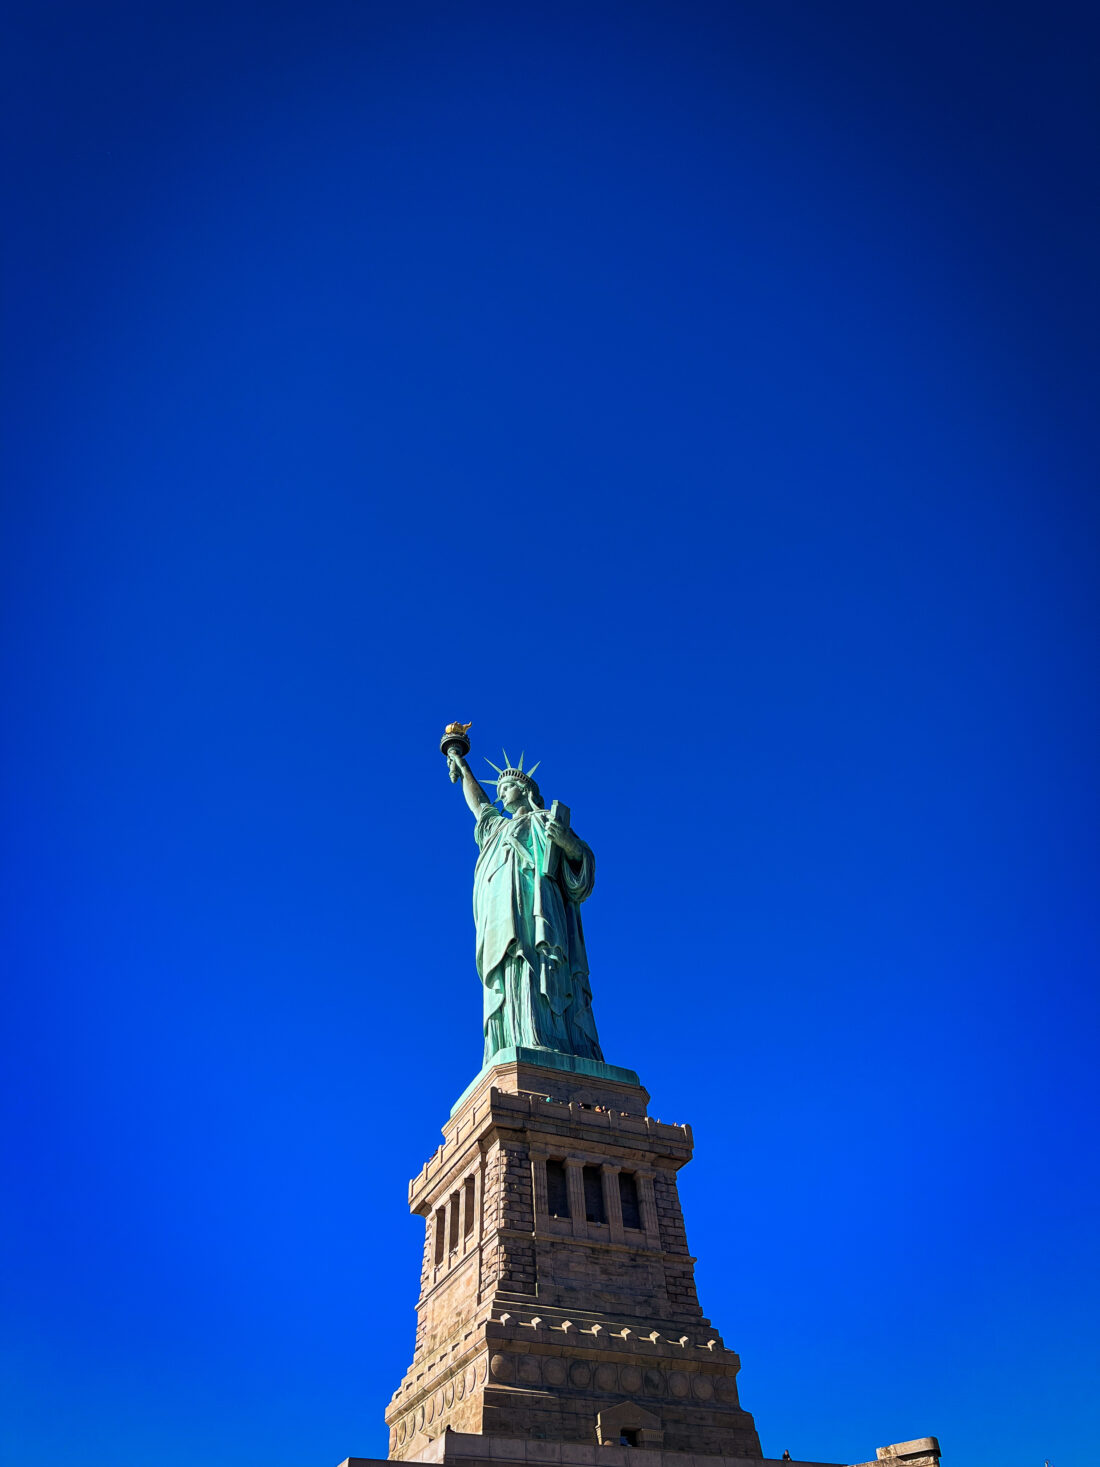
And soon, Lady Liberty was before us!

You can see the crowd of people along her base, as well as some of the construction that was happening here.

It was extremely cool to see her in all her glory.
Once you get on shore, you’ll walk toward the center space of the island, which has a huge American flag flying in the wind.

Can’t lie, I did feel a little patriotic while standing there.
At this point, you have a decision to make – you can either check out the museum, or you can go straight to the statue.
I personally hustled over to the statue.
Along the sidewalk on the way to the statue are some nice seating areas that you could theoretically rest at or eat your lunch at.

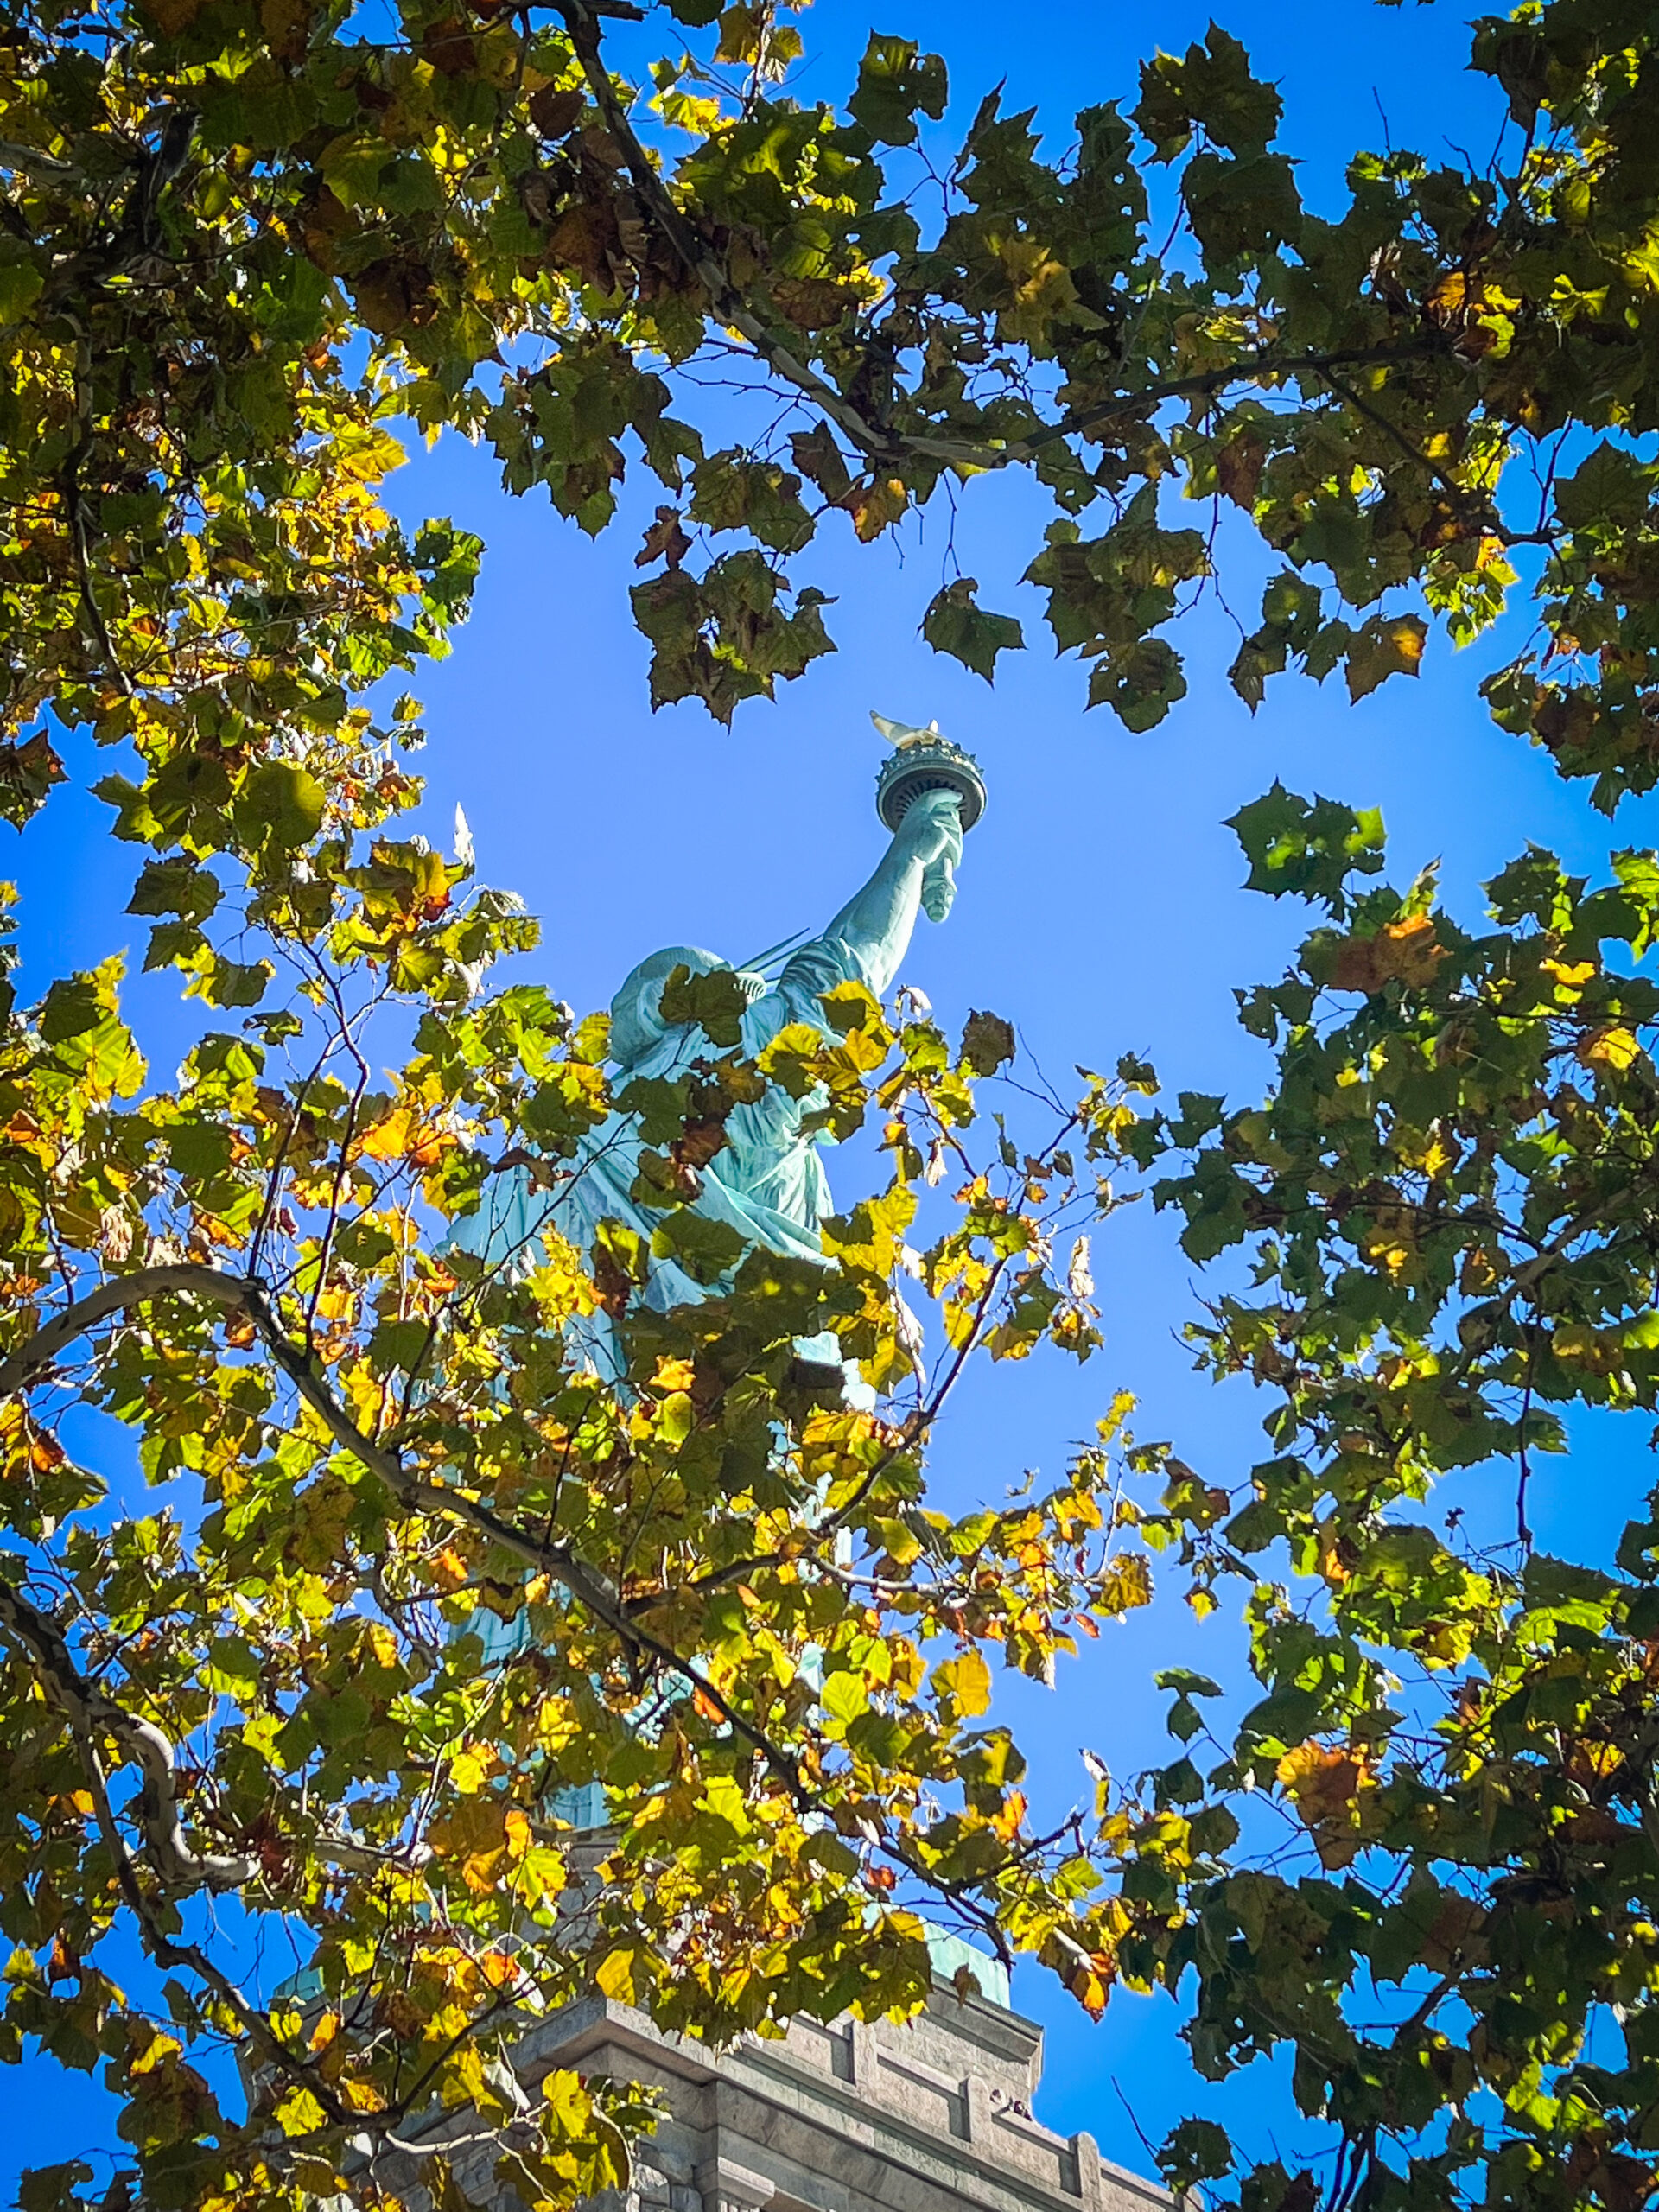
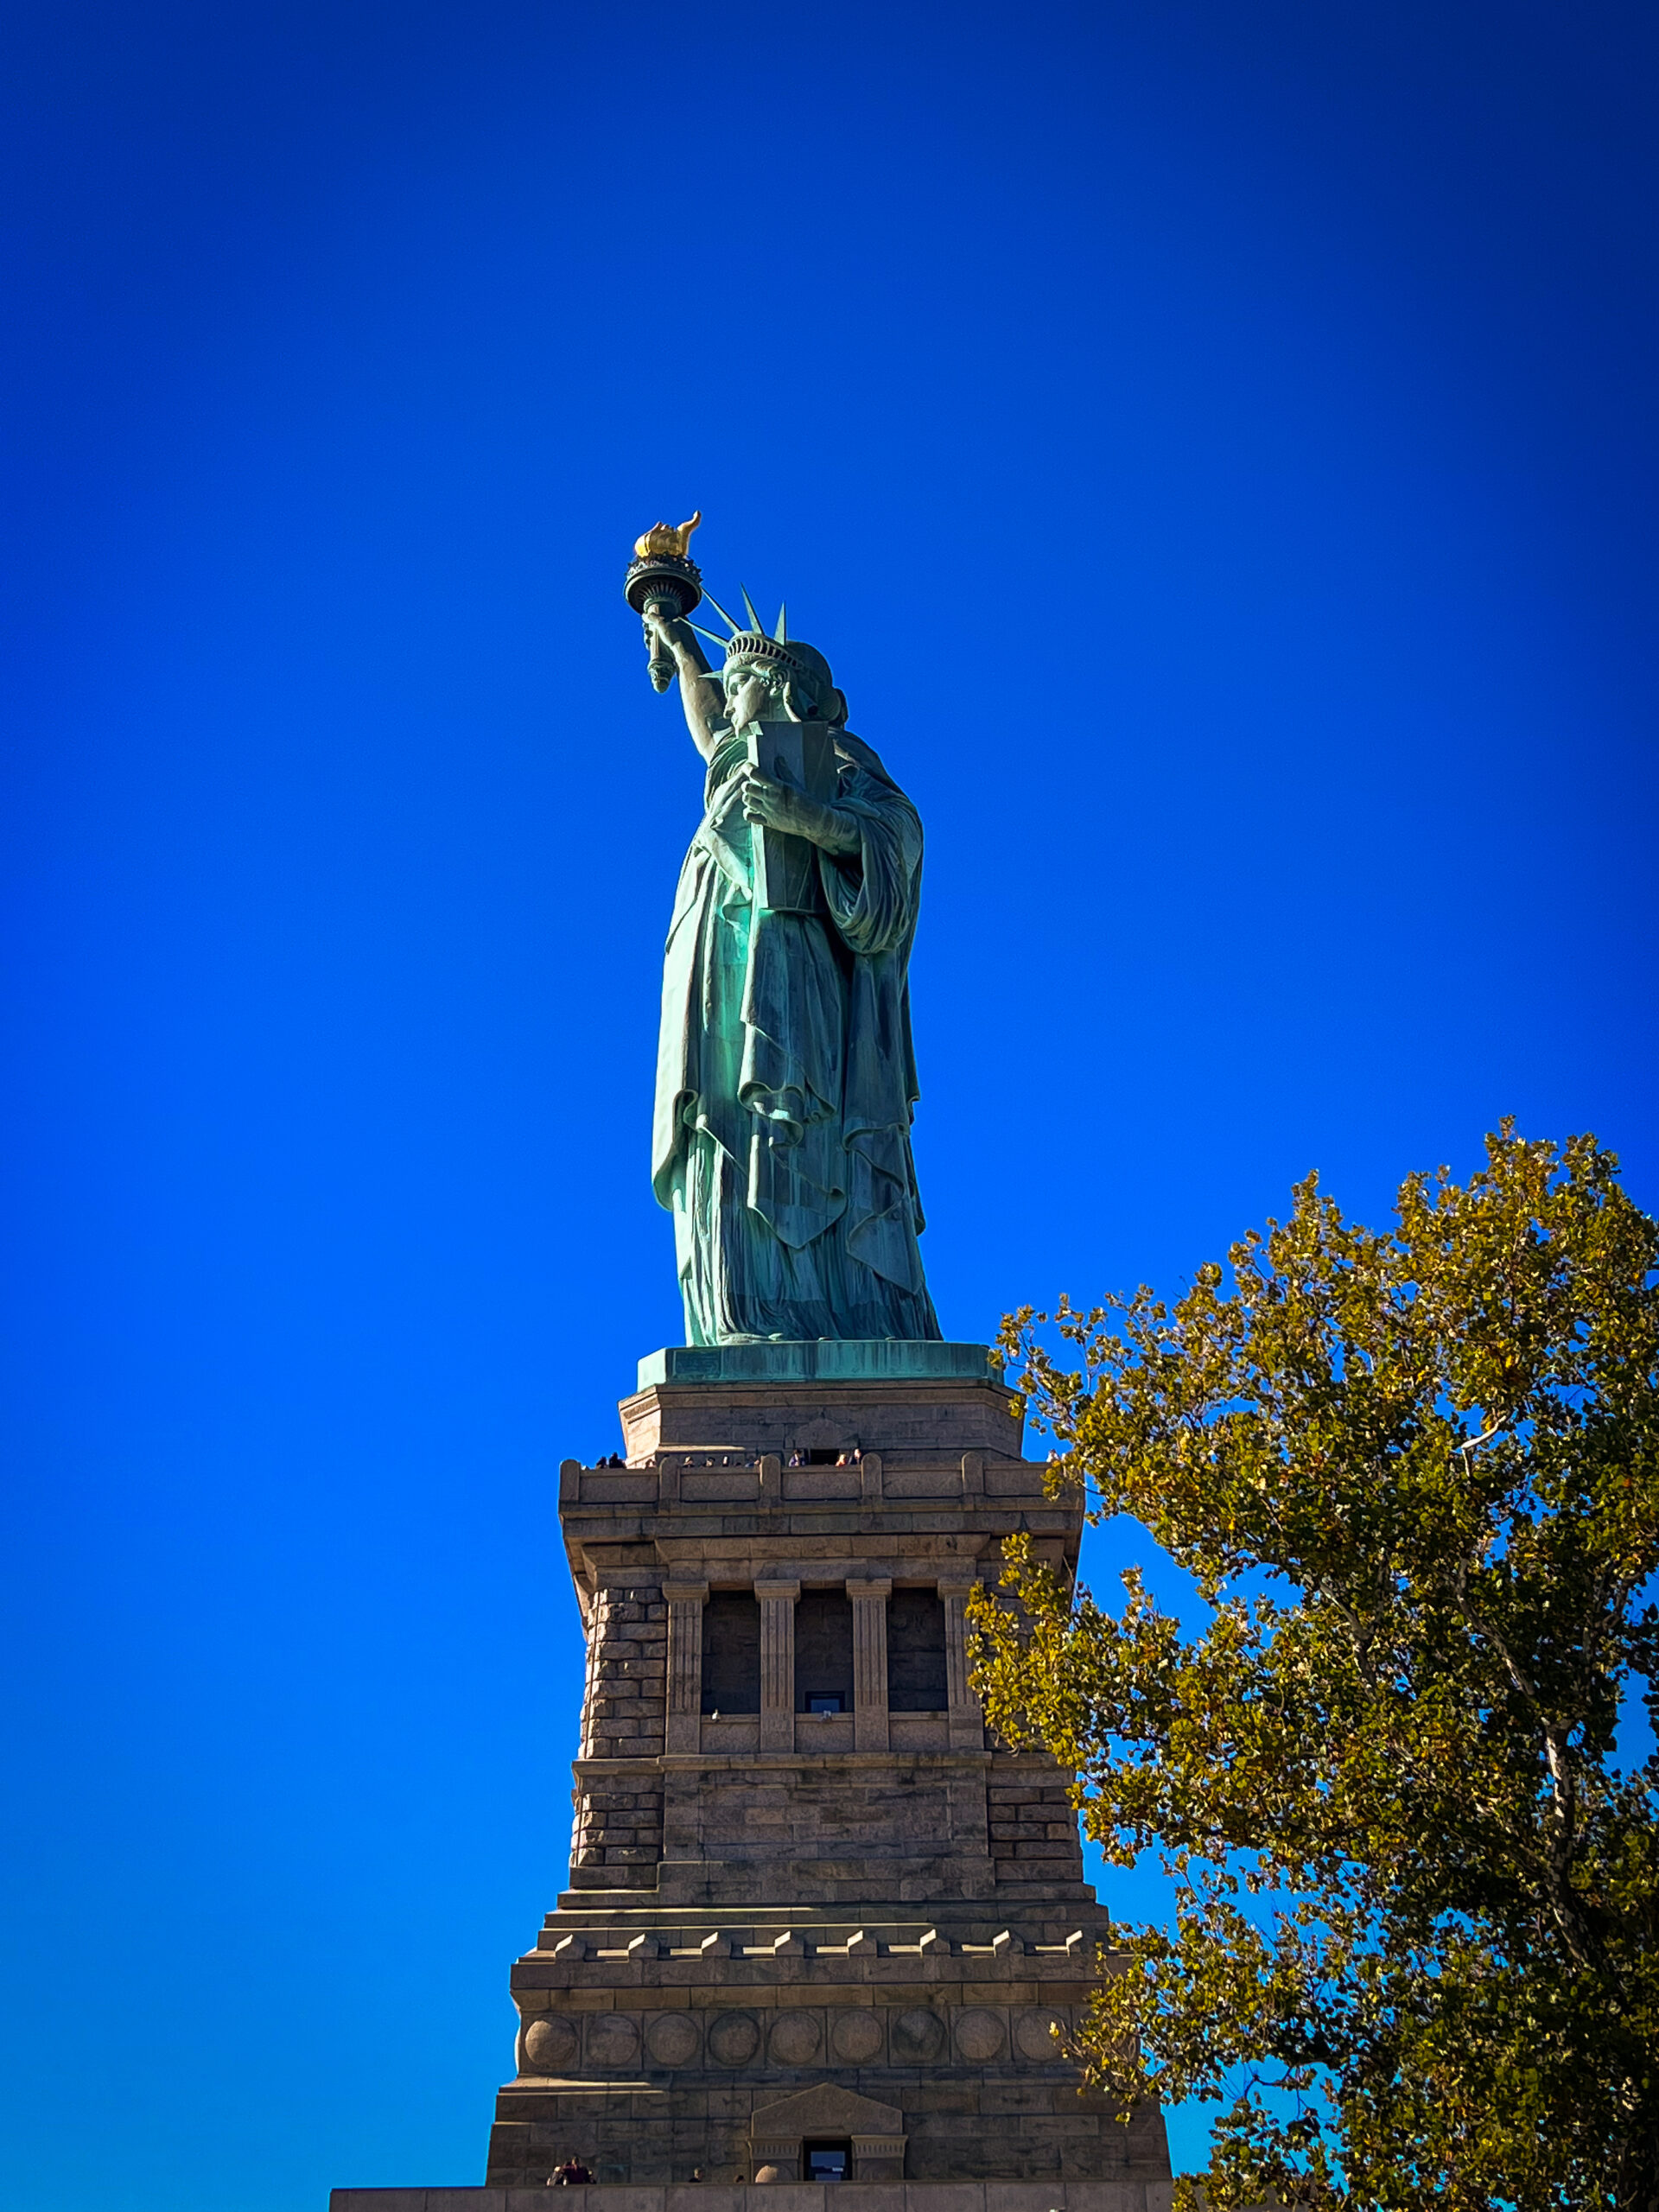
When you reach the end of the path, you’ll see the statue from behind.

It’s pretty incredible to get close to the statue.

Seeing her in person is incredible.
There was a bit of construction happening at the time, which was a bummer, but I tried to be strategic with my photos.

This area was by far the most crowded part of the island, for obvious reasons. All along the base, people were crowded, trying to snap photos.
I strategically looked for someone who looked like they knew what they were doing with photos, and after finding a pair of young women who were having their own photoshoot, I decided to ask them if they would snap a photo of me. They leapt into action, giving my directions on where to stand and how to flip my hair, all while hyping me up. Sometimes strangers are the coolest.

Here I am, laughing at their directions.
Since I had tickets to go to the top of the pedestal (the section just below the green portion of the statue), I headed back toward the base of the statue. I had a small bag, so they told me I had to rent a locker to store it while visiting. They have plenty of lockers, but you’ll want a bit of spare change to rent one.
To get to the very top of the statue os 377 steps. There is an option to take an elevator to the pedestal section, but I have a rule while traveling that if you can take the stairs to the top of the monument, you do it. I want to have the full experience, each step of the way. I don’t want to say that I took an elevator to the pedestal at the Statue of Liberty, I want to say that I climbed each stair to the top. So I did!
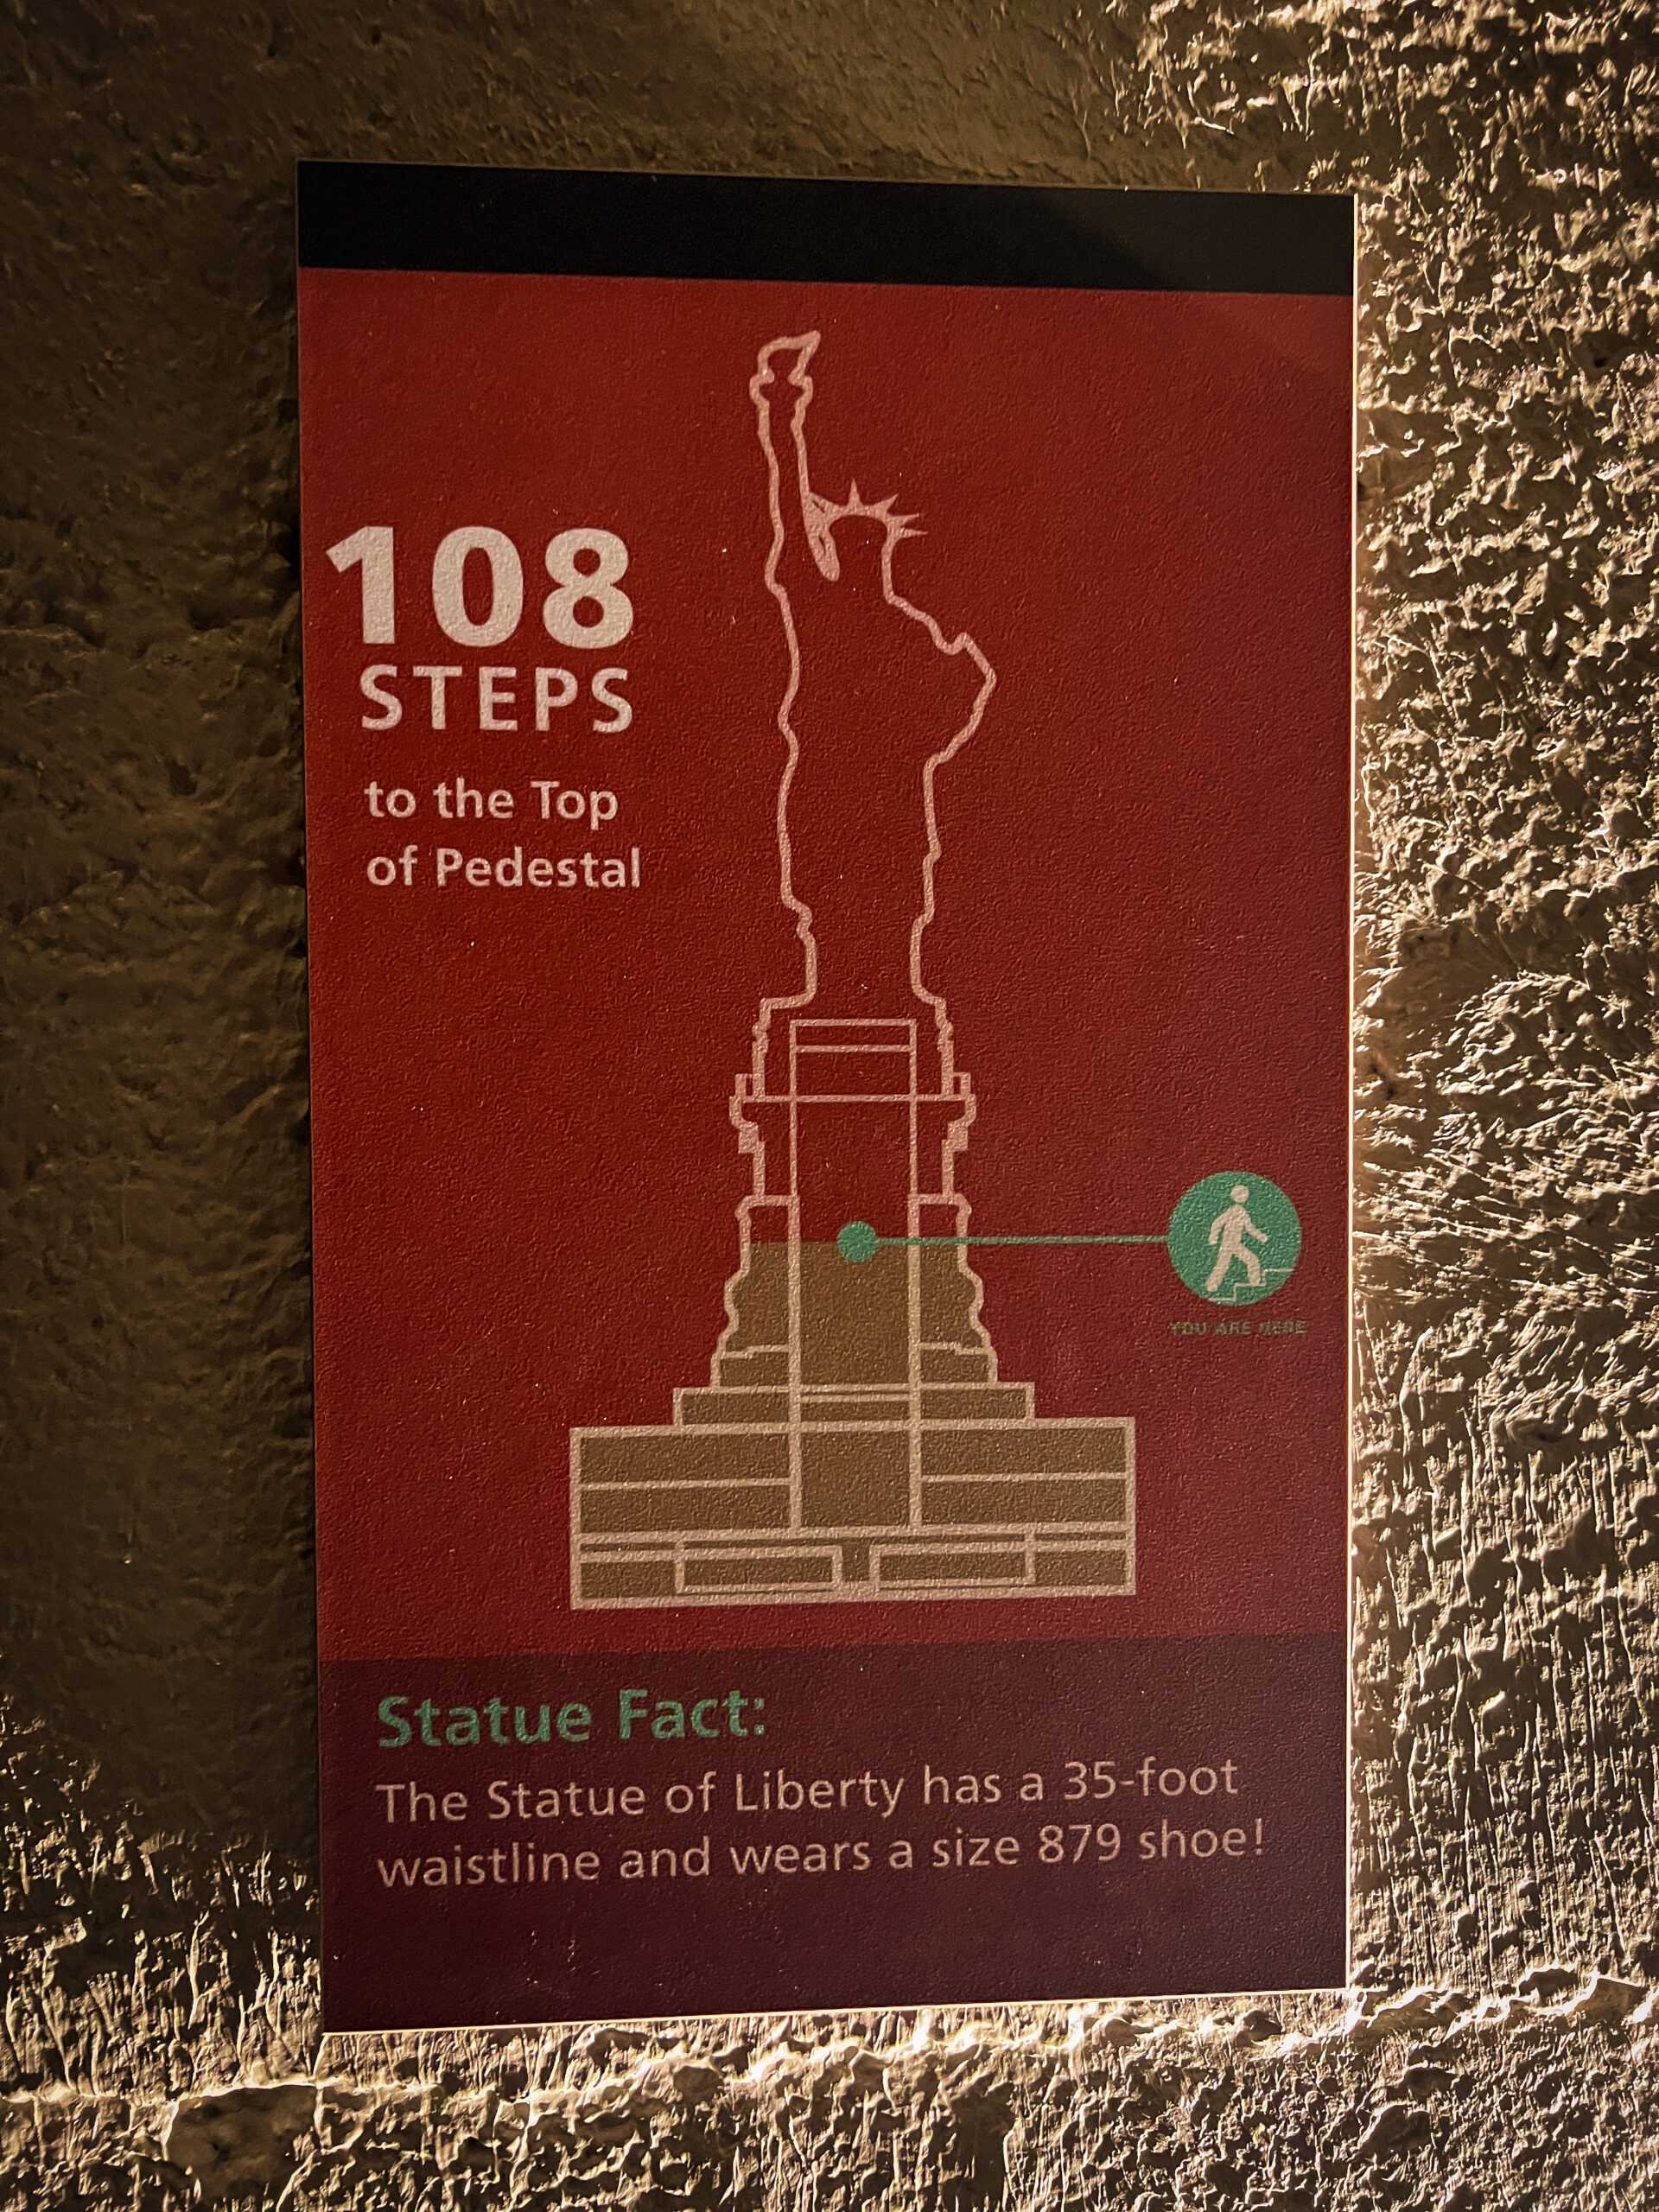
Along the way, they let you know how many steps you have to go, which include little fun facts about the statue.
When you get to the top of the pedestal, you can check out the view from all angles. I liked this angle, which overlooks the museum and includes the statue’s shadow.

The view of the skyline was beautiful.
Hello, New York.

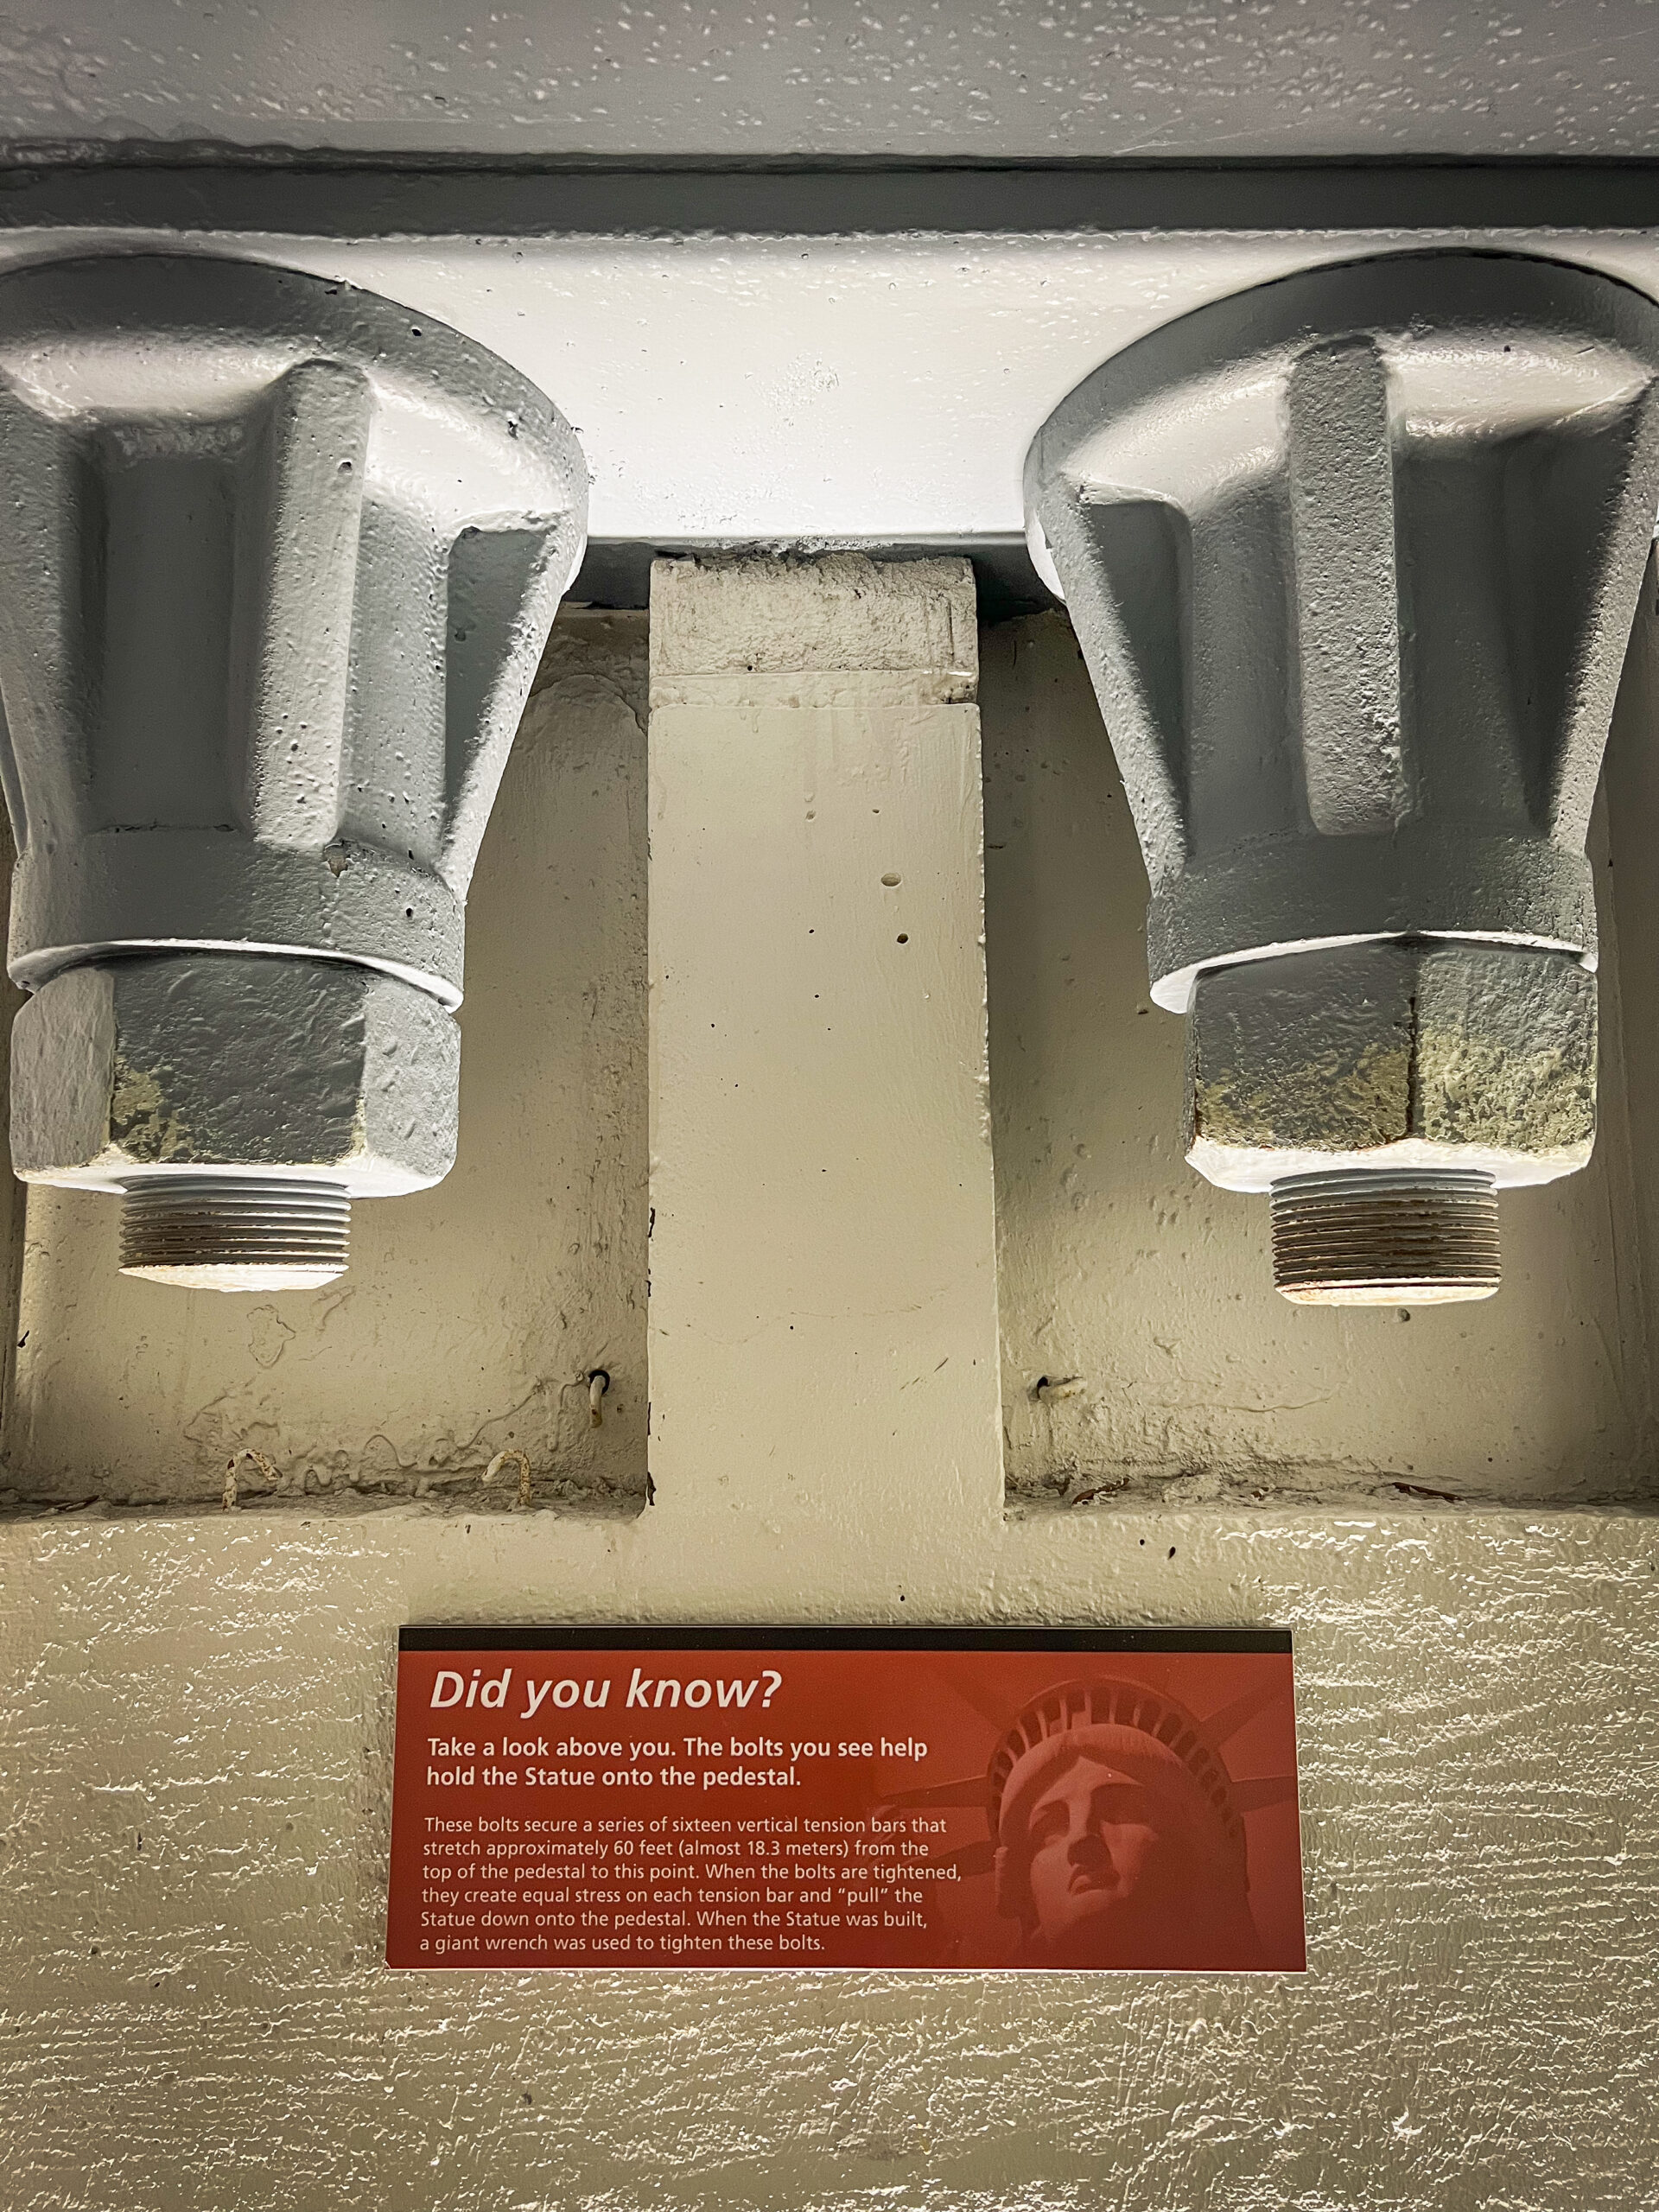
When you return to the interior of the pedestal and descend, you’ll see the bolts that keep the statue attached to the pedestal. Super cool!
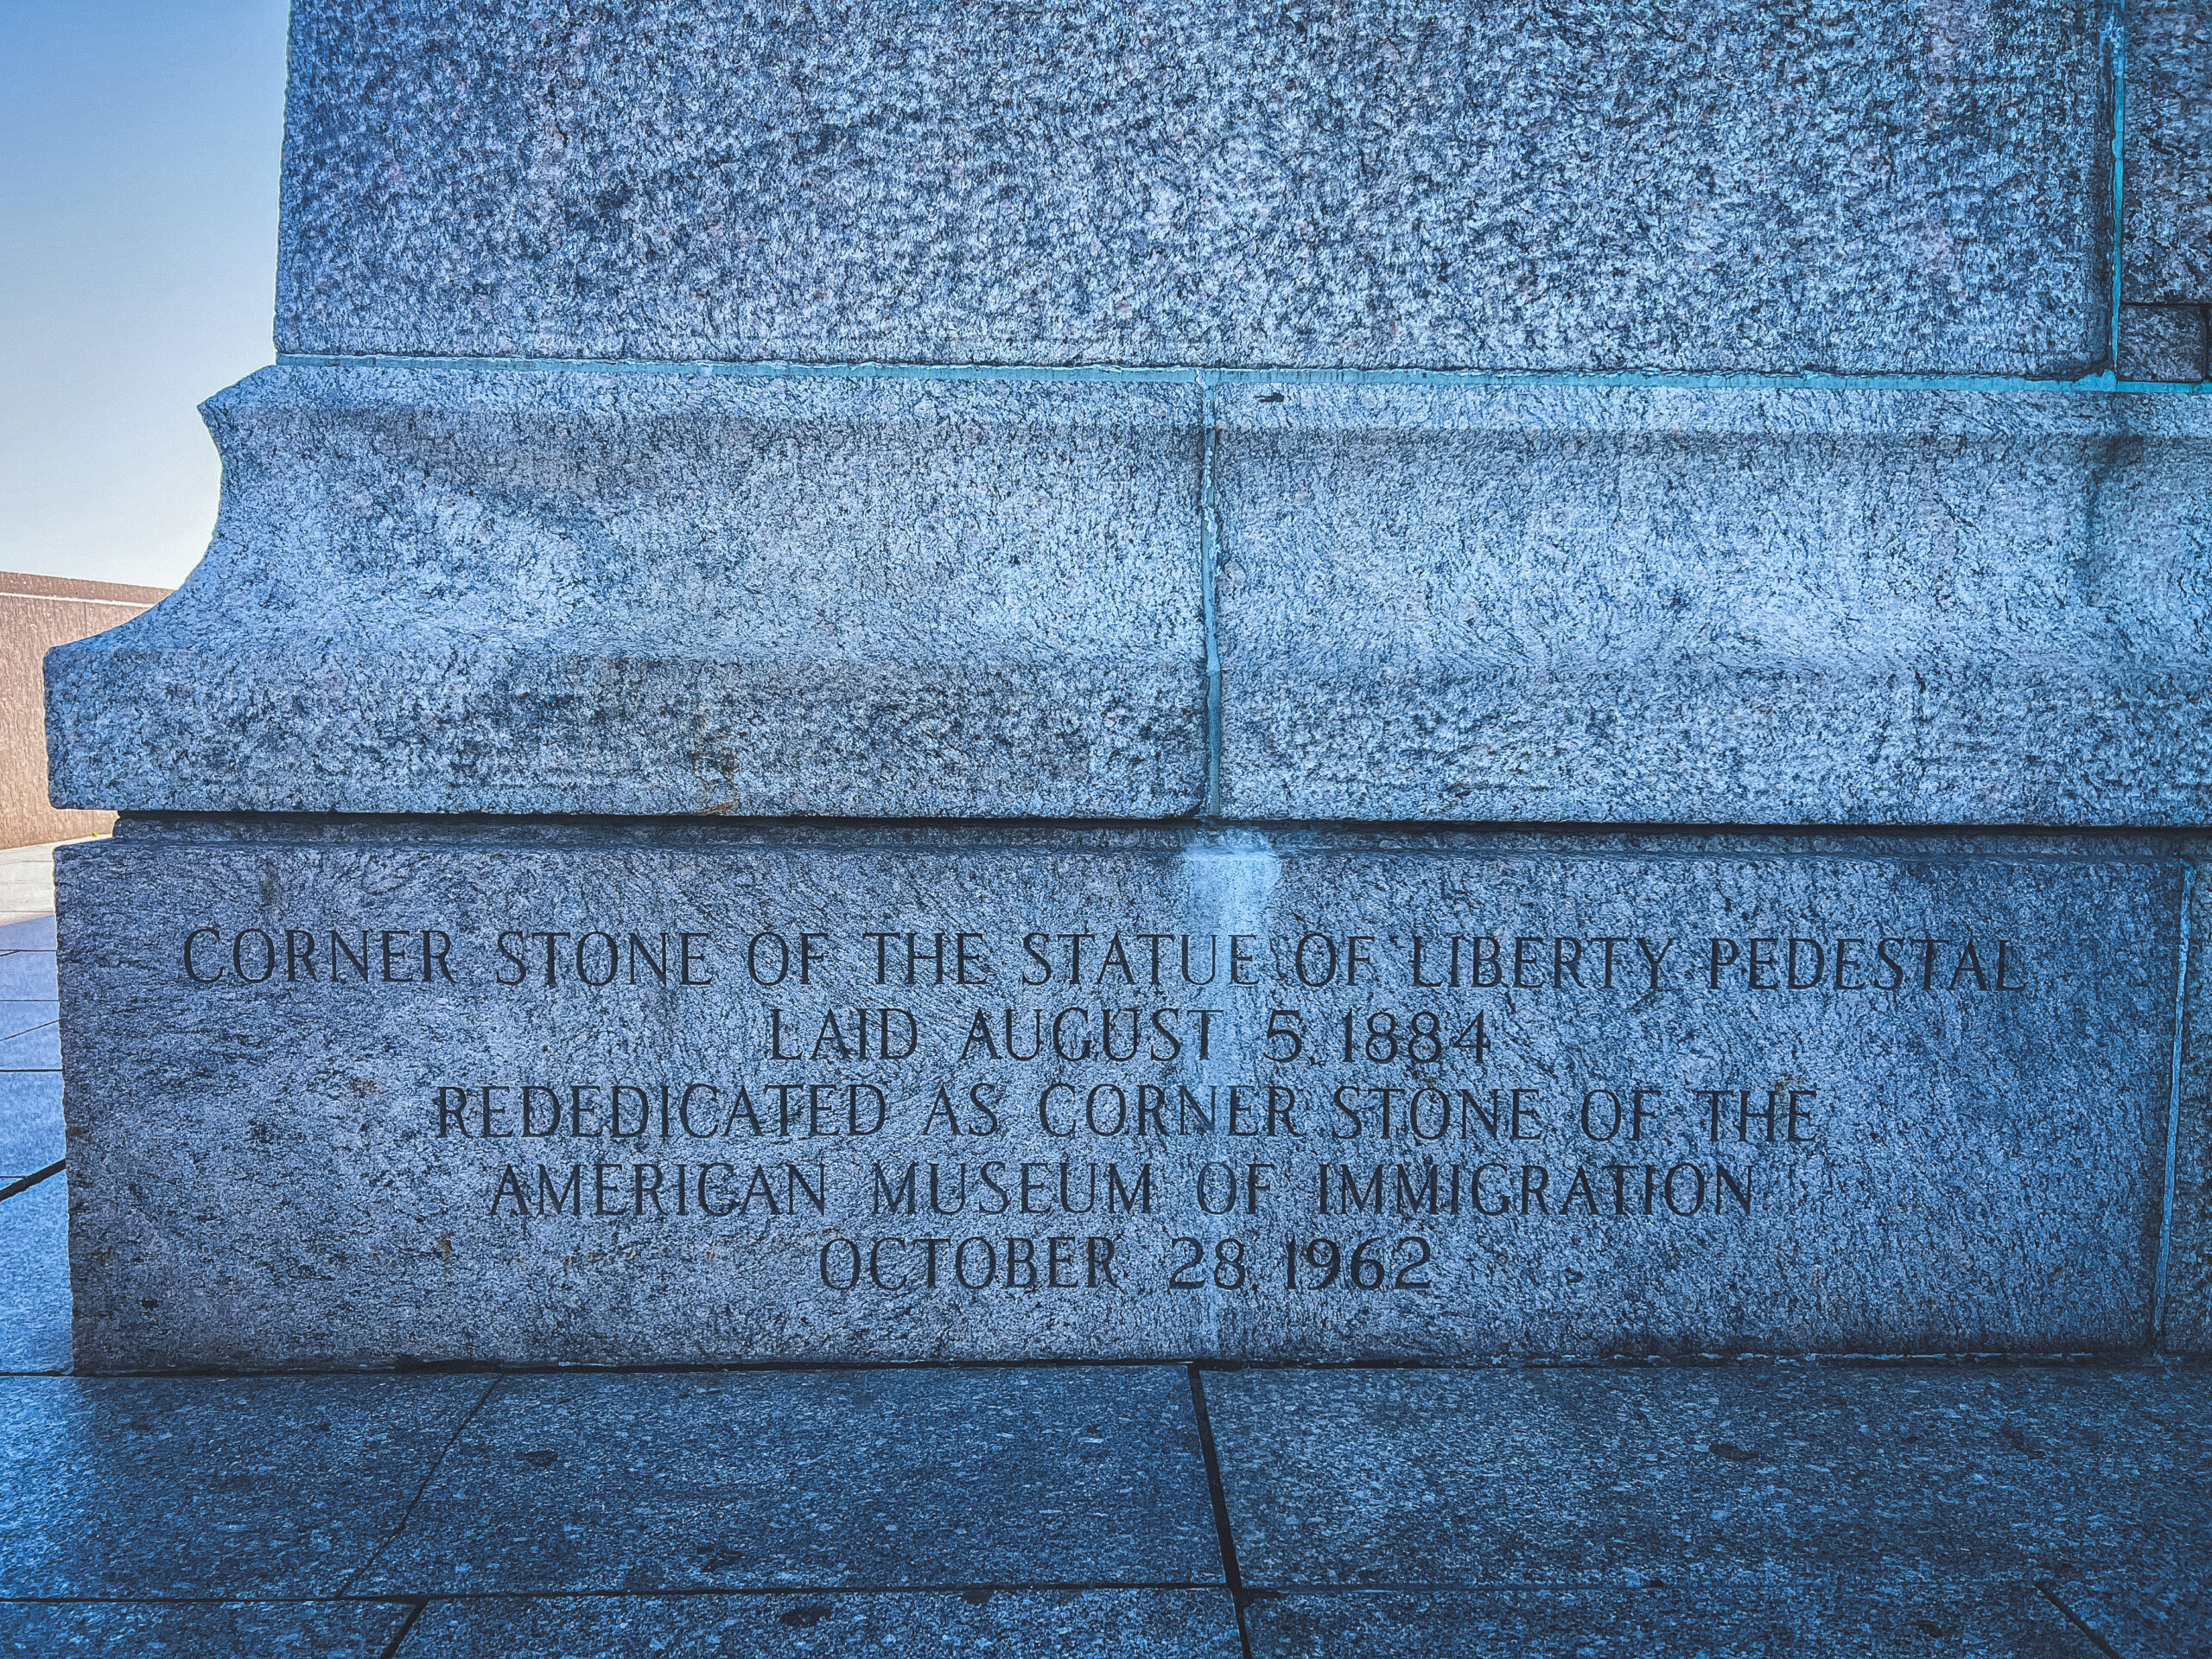
You can also check out the cornerstone of the pedestal, which is super neat.
And that’s the climb! While I wished I’d been able to score tickets to the crown, I was really pleased with the experience at the pedestal. I think it’s 100% worth it to minimally book the pedestal tour if you can.

After visiting the pedestal, you can check out an exhibit in this building about the statue.
It starts out with a giant picture of the statue’s face, which scared me.

That’s a face of fear, folks.
They had some sketches from the planning phases of the statue, and I really wish they would have went with this – feels terrifying and also somewhat appropriately on-brand.

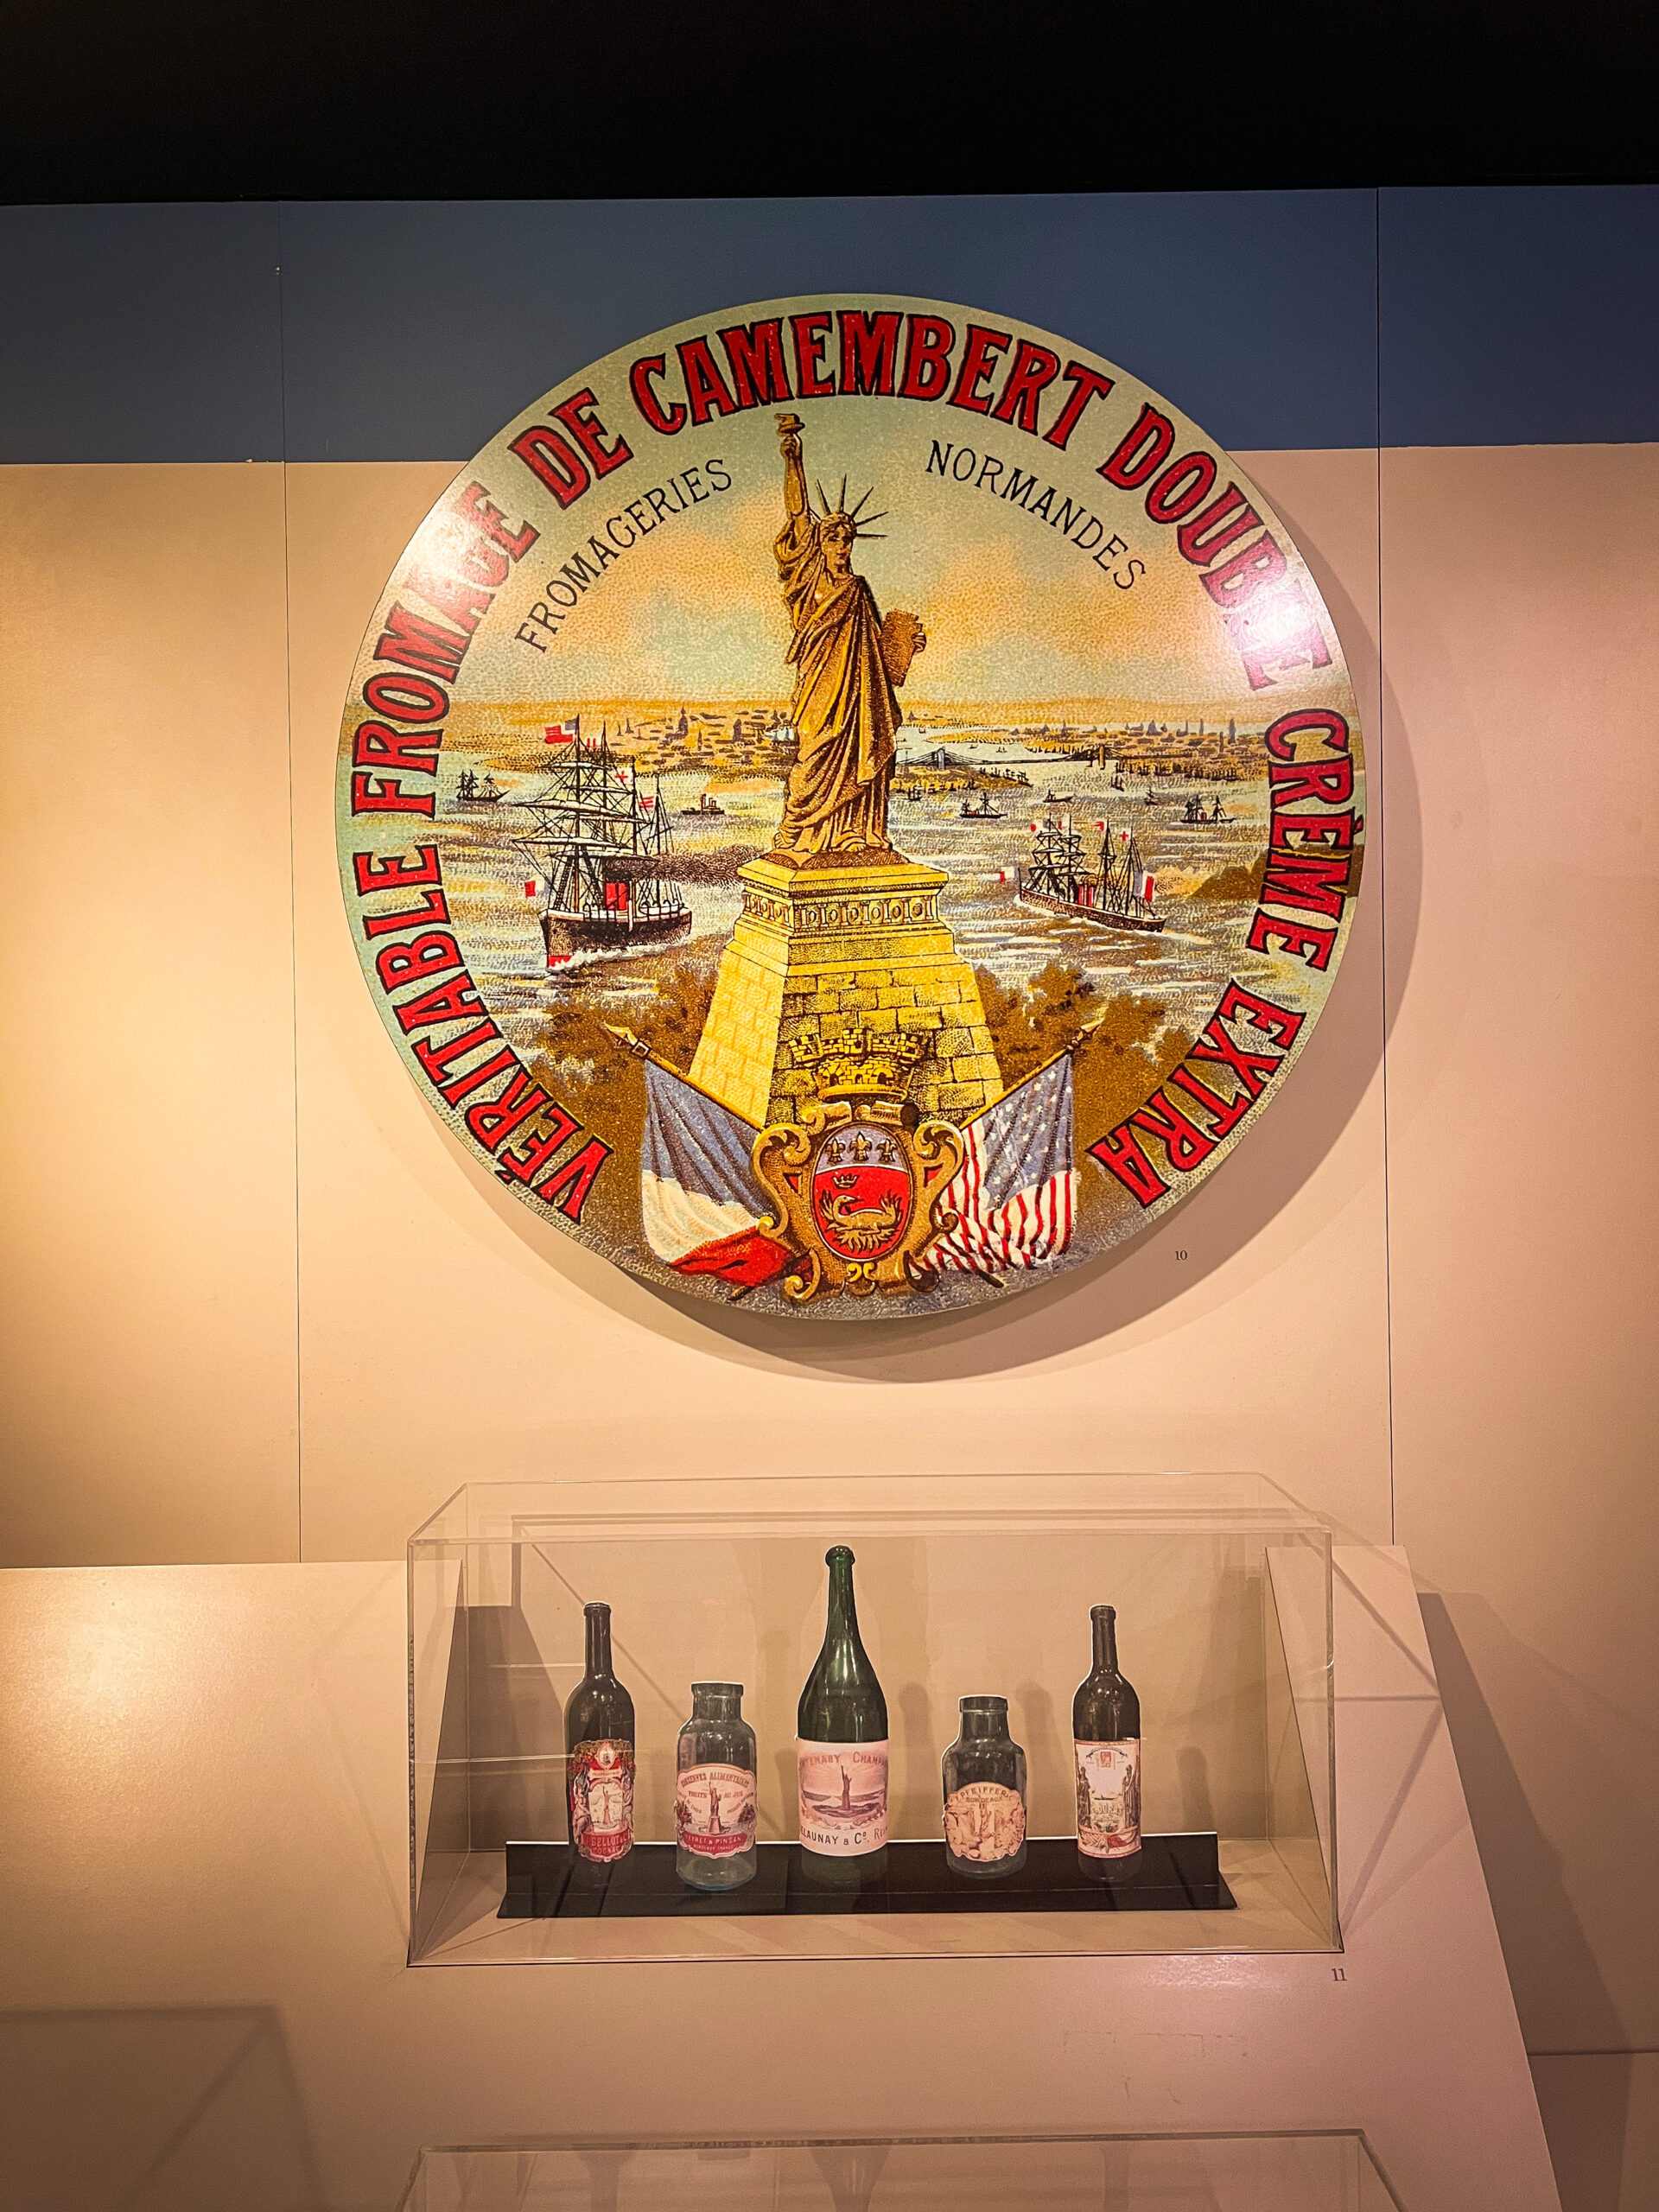
The exhibit talked about France’s gift to the U.S., and how the French came to love the Statue of Liberty.
Here she is, on cheese!
They also had materials from the Statue of Liberty’s official unveiling, which was really neat to see.

They also had diary entries from immigrants who mentioned the Statue of Liberty in their entries, which was so interesting to read. It made me wonder what my ancestors thought when they arrived, and if any of them had journals that have been lost over time.

From there, I returned to the square at the center of the island, and visited the museum.

The museum building was really cool – you can see through the glass here that they have the original torch. Having the expansive windows there makes for a really great view from within the museum.
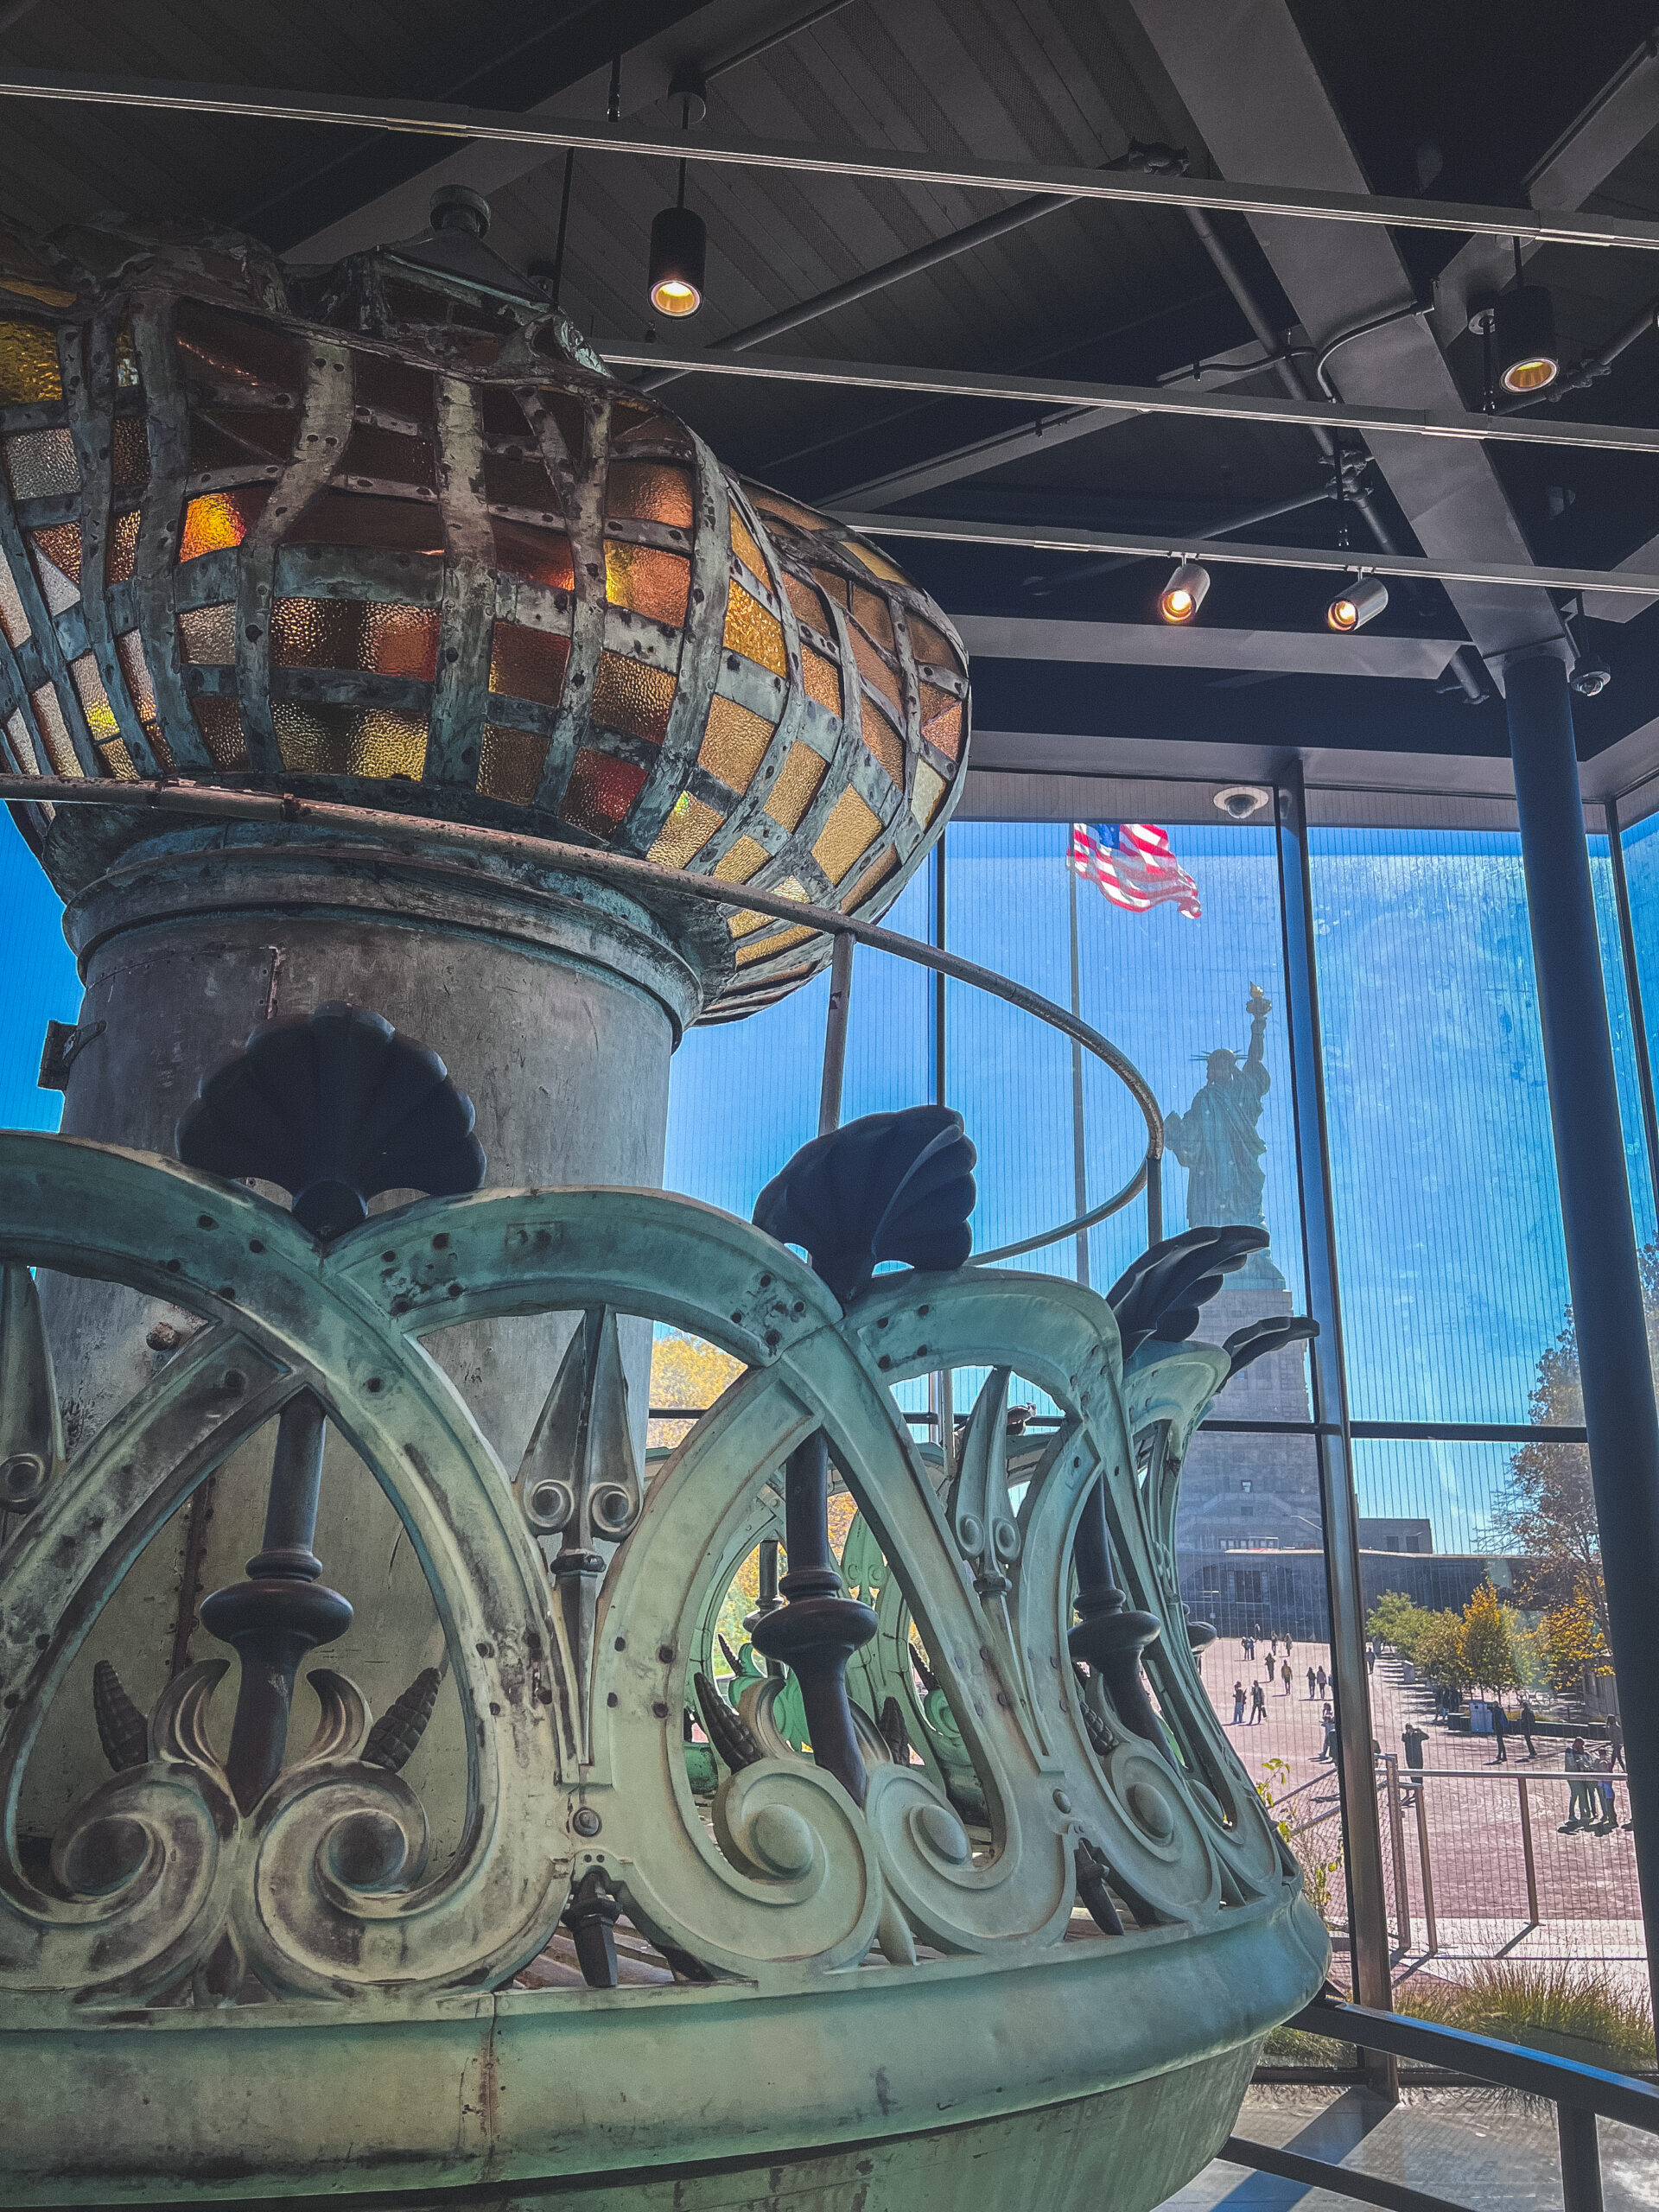
Catch a glimpse of the statue and the flag perfectly in the background.
Aside from the original torch, which was damaged and brought here to be put on display, they also had a mold of the face.
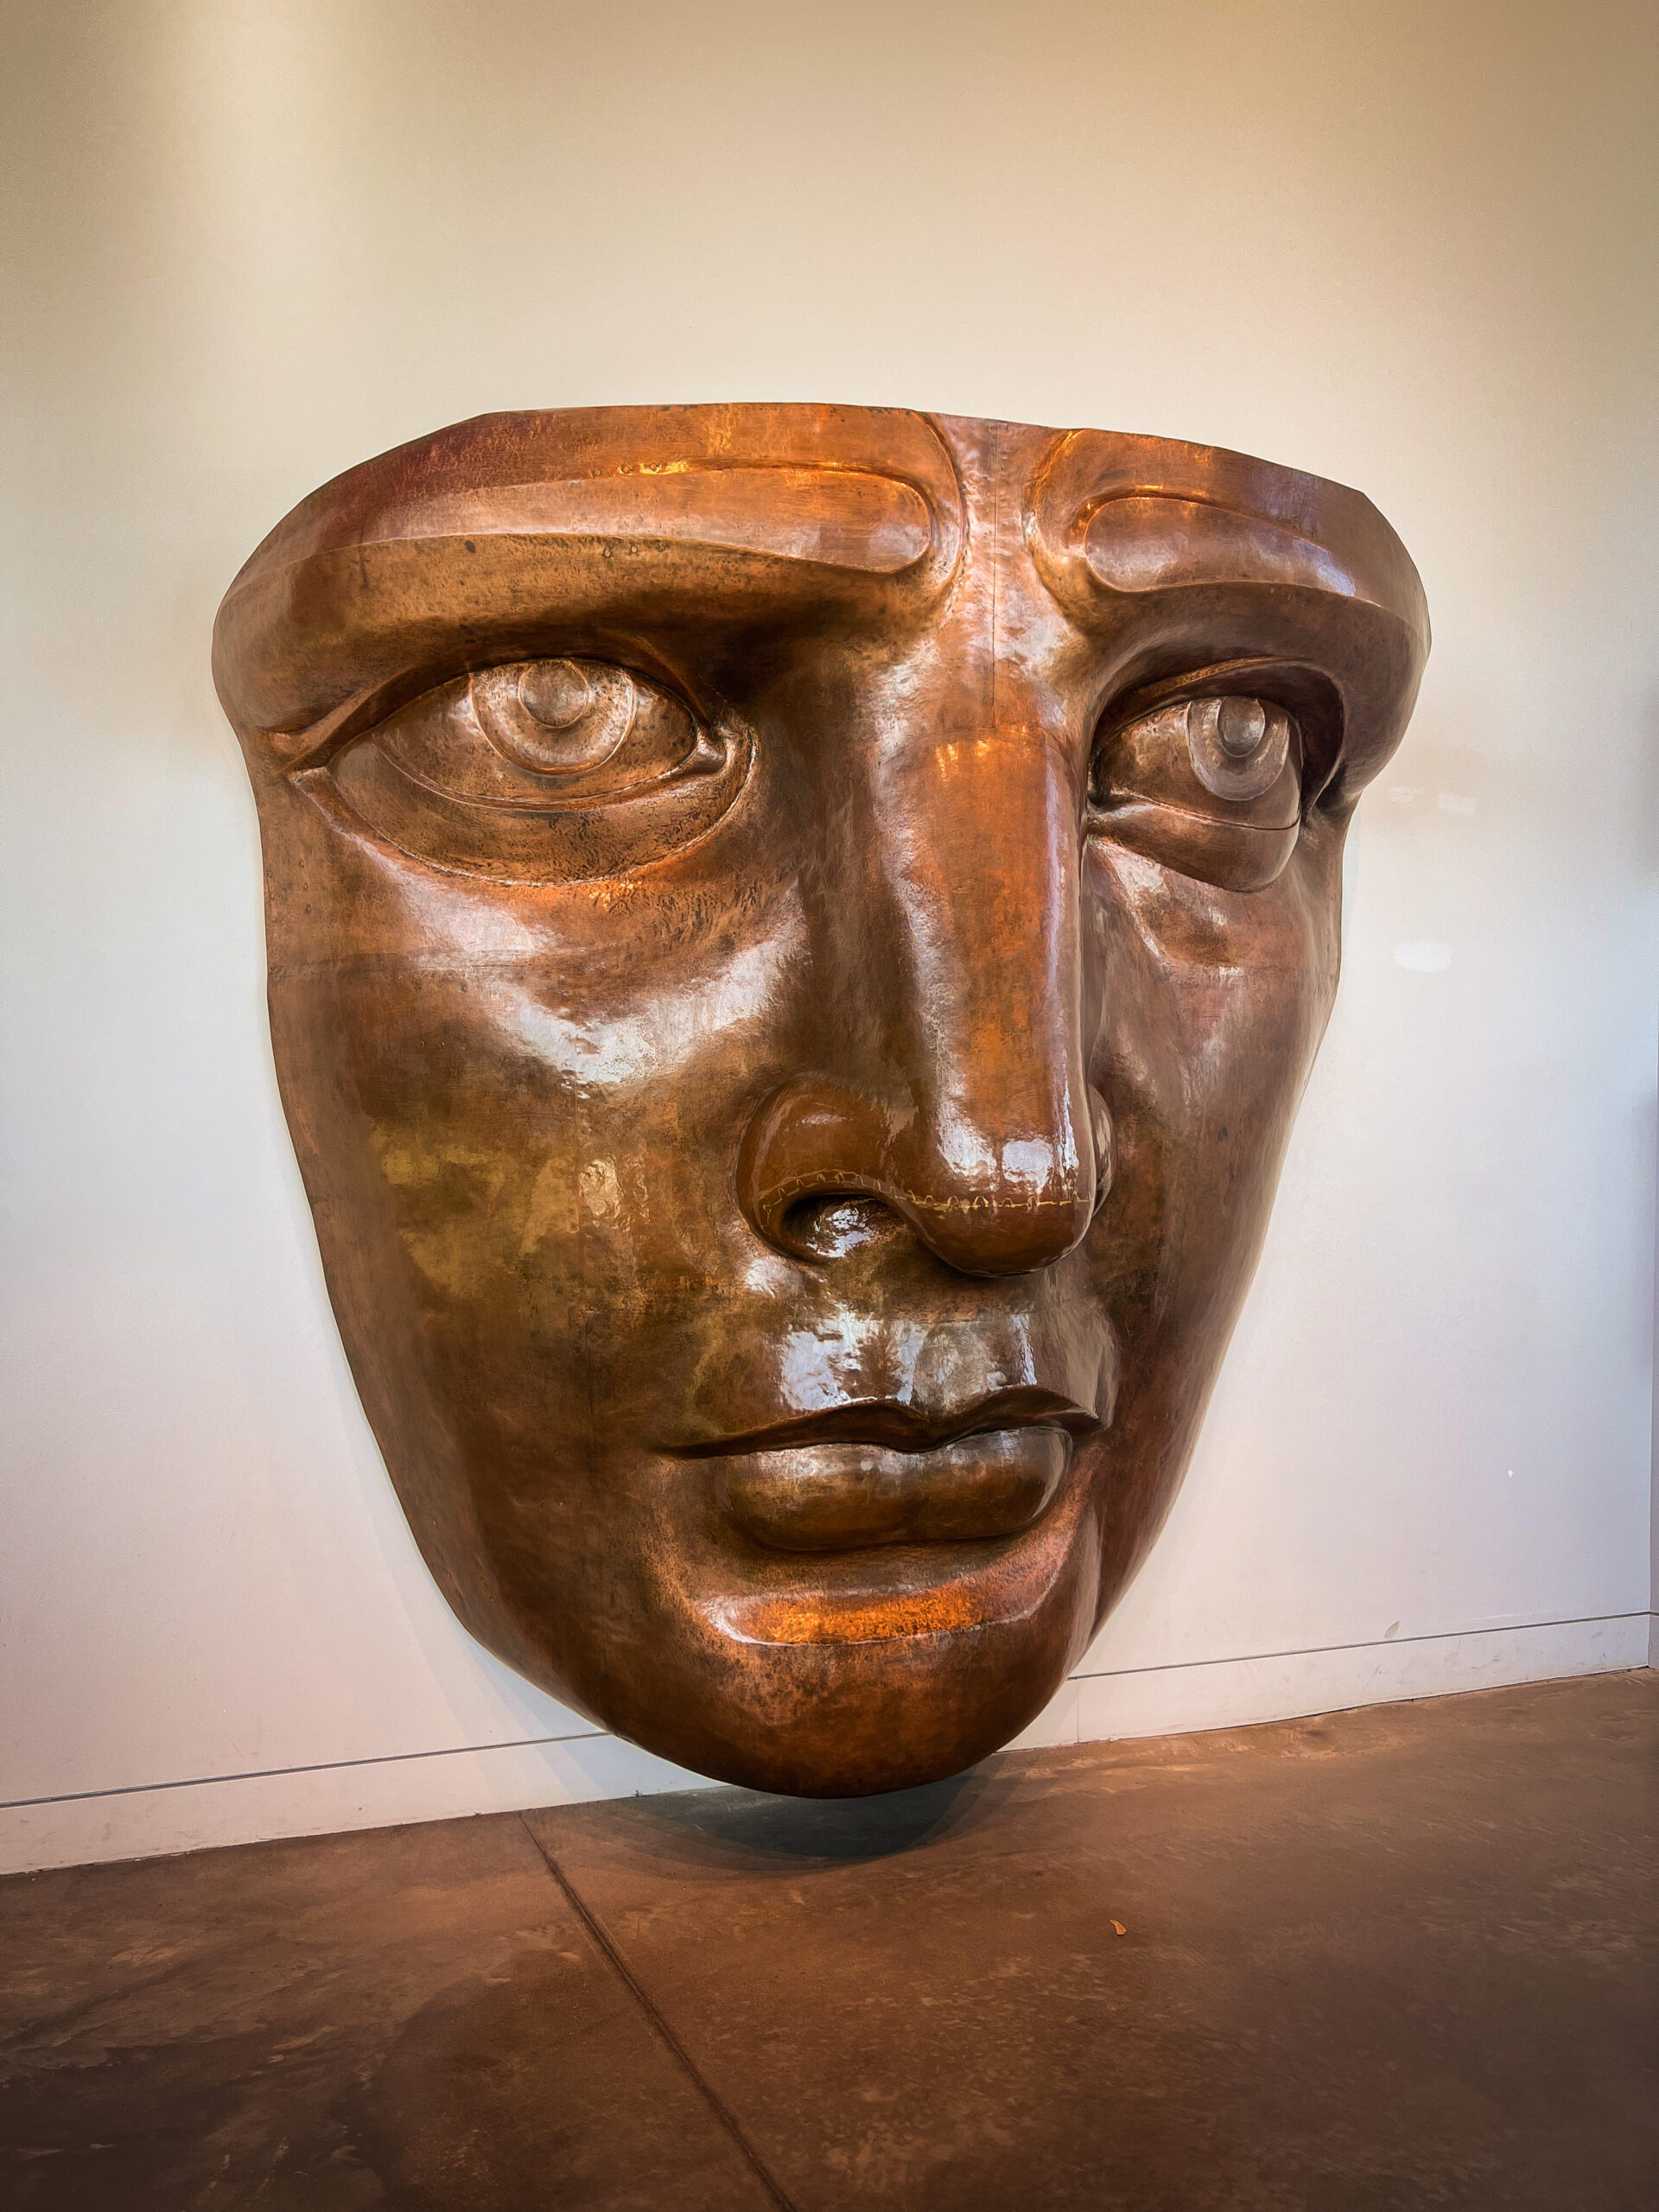
People were taking selfies with it, but I…thought it was creepy. Sorry.
After taking some time in the museum, I bought lunch from the cafe on the island, and sat outside to enjoy the view and my cheese pizza. My phone was very inconveniently dying, which ended up cutting my trip a little shorter than I would have hoped.
To get back to Manhattan, you need to take a ferry to Ellis Island, and then a second ferry to Manhattan. You cannot go straight to Manhattan from Liberty Island.
I wanted to visit Ellis Island, to see the place my ancestors had first entered America from. I just wish I’d had more time. Unfortunately, I was relying on my phone to get back to Manhattan, and to then travel back to my hotel. And double unfortunate was the fact that there are no charging stations on either Liberty or Ellis Islands.

I’d like to return to Ellis Island one day to do more research on my family in their archives, and to take in more of the exhibits.
I ended up turning my phone off so I could absorb more of the exhibits, but I didn’t get to all of them, and would love to check out more of the island.
I did spend some time in the Great Hall, which is where immigrants, including my ancestors, would have registered. It was pretty unreal to stand in that space and think about all of the history that had passed there, including my own family’s.
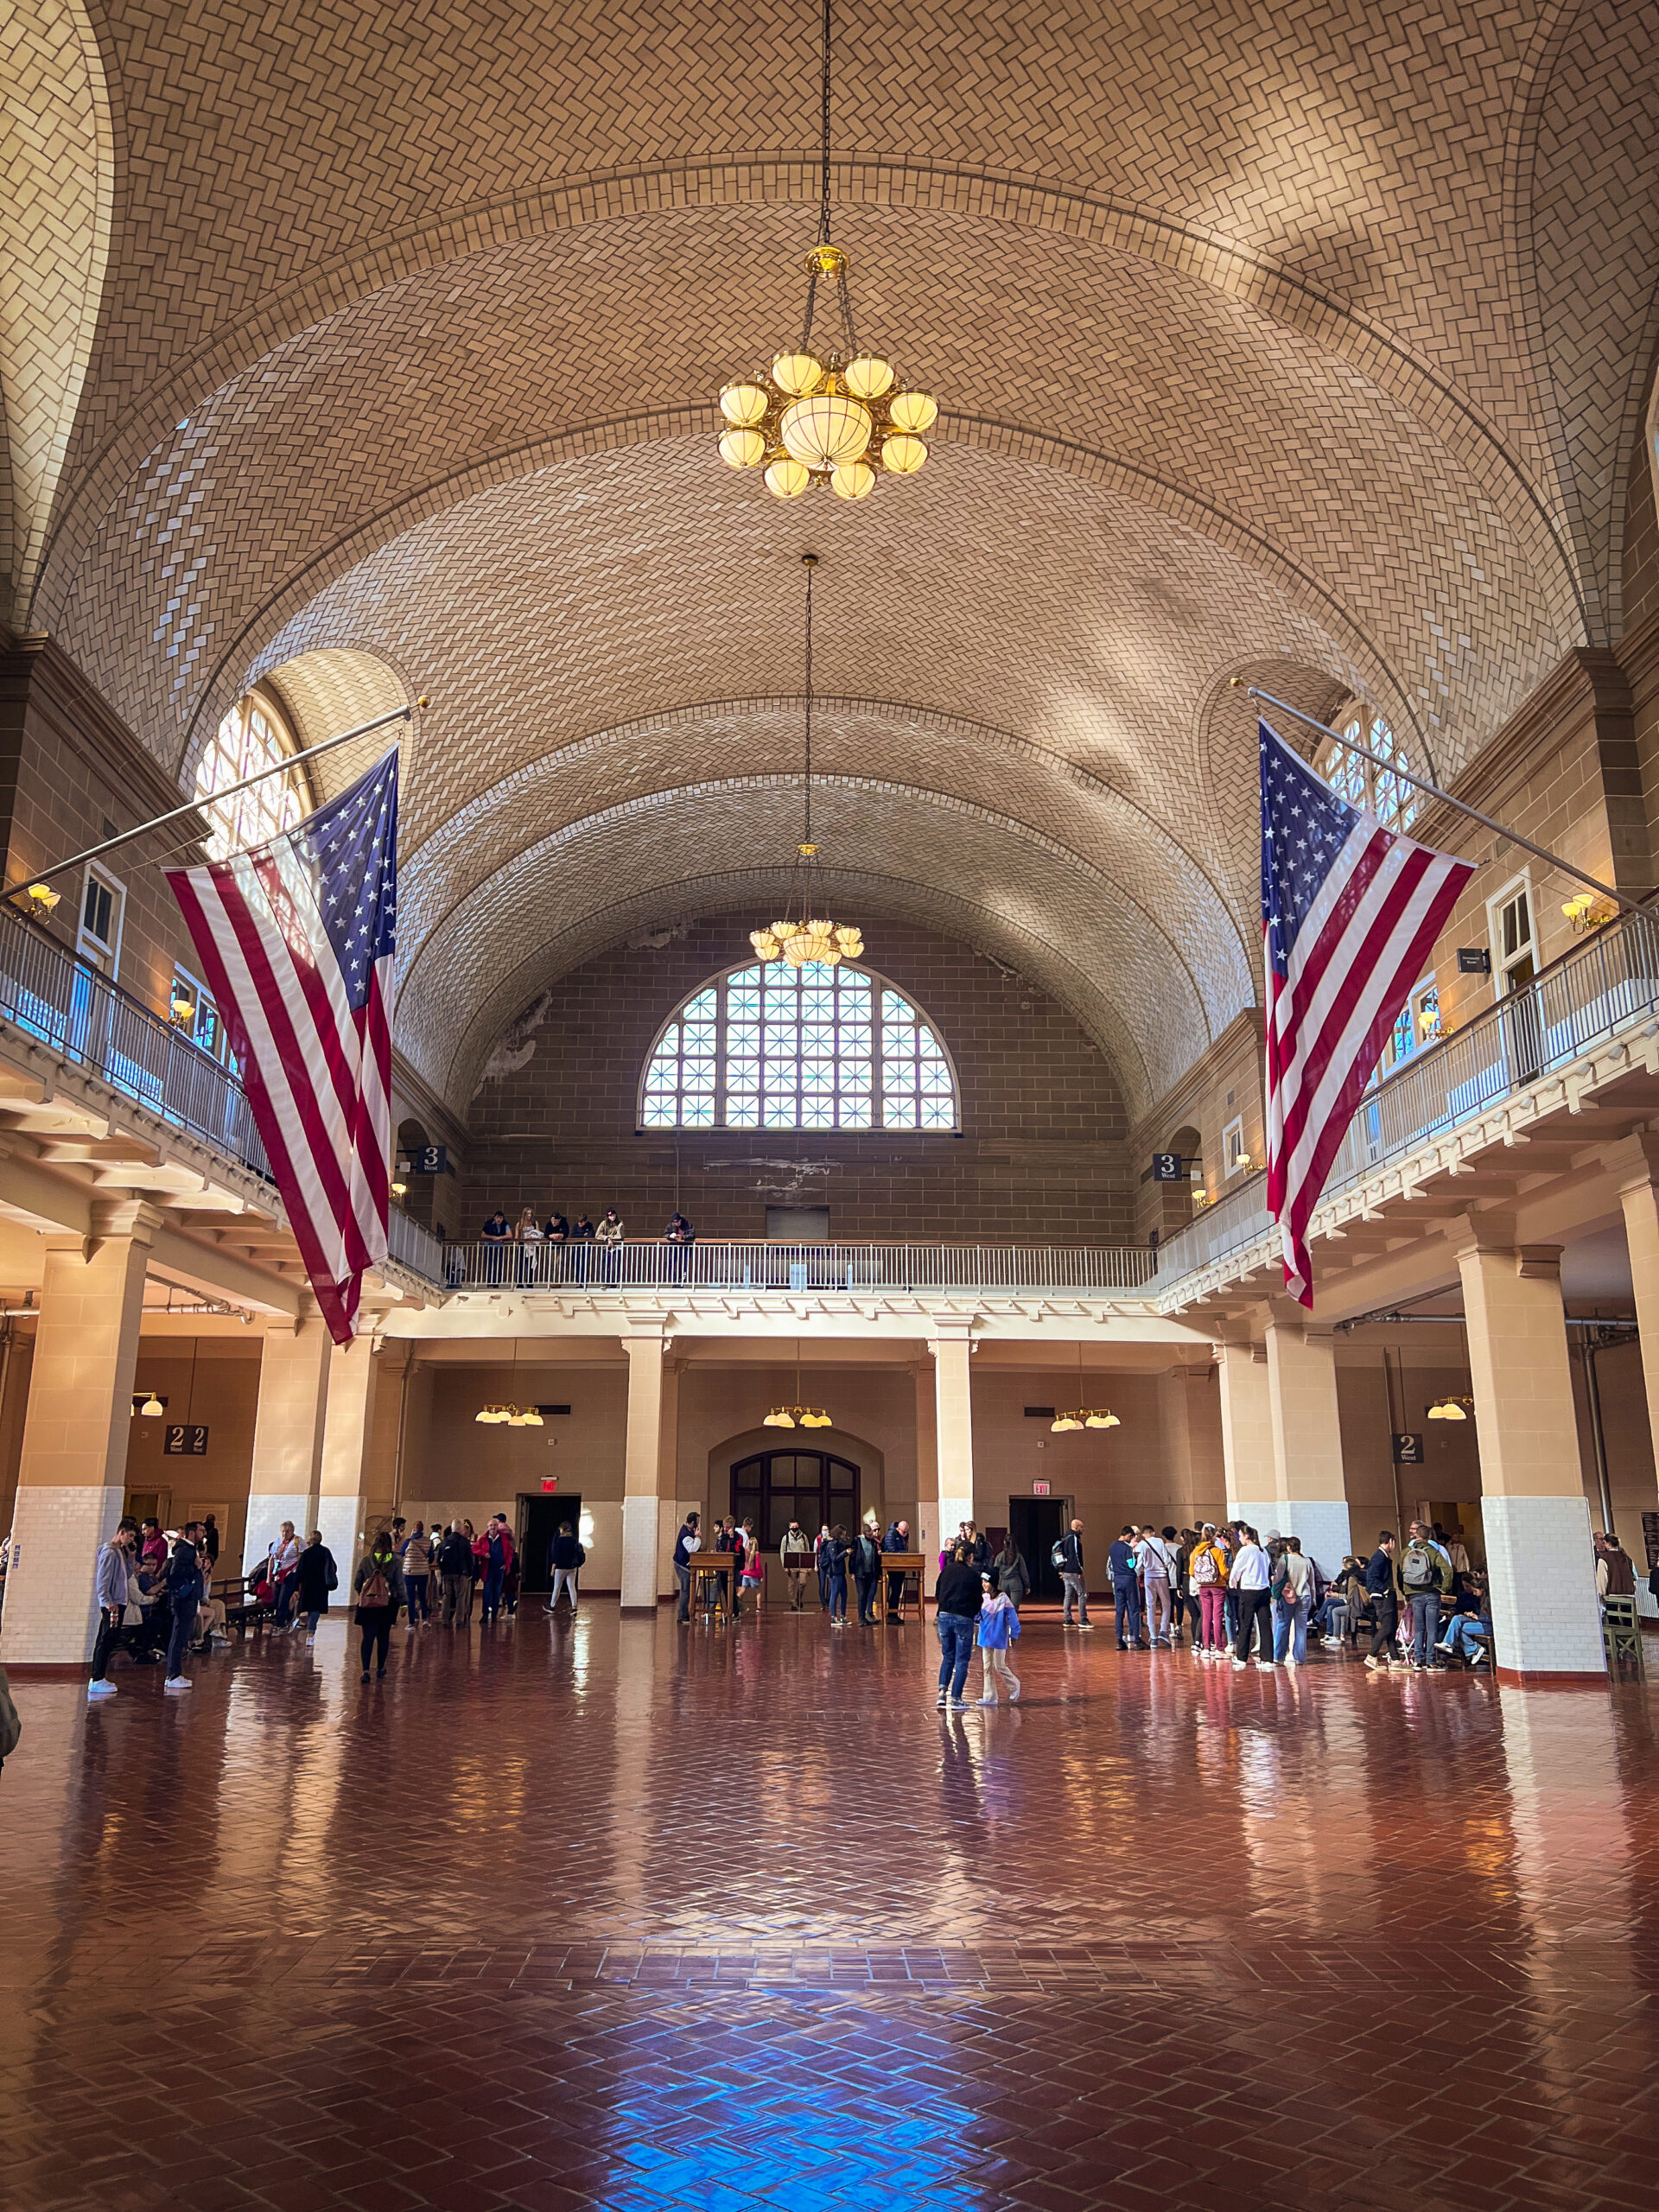
We have a copy of our Italian family’s records from Ellis Island, and I kept thinking of them standing in line here, dreaming of what their lives would hold next.
One of my fun facts is that my Italian ancestors’ last name was Salvatore. I found that out while in high school during my peak era of Vampire Diaries fandom, and I almost lost my mind. I’m not going to lie, it still makes me very happy inside to know I come from a line of Salvatores.
I managed to get back to Manhattan with enough battery power to Uber back to my hotel, so I’d call that a success. Even with cutting my trip a little shorter than I’d hoped, I still spent a full three and a half hours between both islands, so if you hope to see all there is to see on both islands, plan for several hours.
After my visit to Liberty and Ellis Islands, I headed out to explore the Met and a few bookstores in Manhattan. Read more here!
Let’s Connect:
- Instagram: instagram.com/anaadventure95/
- Facebook: facebook.com/AnaAdventureBlog
- Pinterest: pinterest.com/anaadventure95
- Twitter: twitter.com/AnaAdventure95